Keto Zucchini Boats – Chicken Bacon Ranch

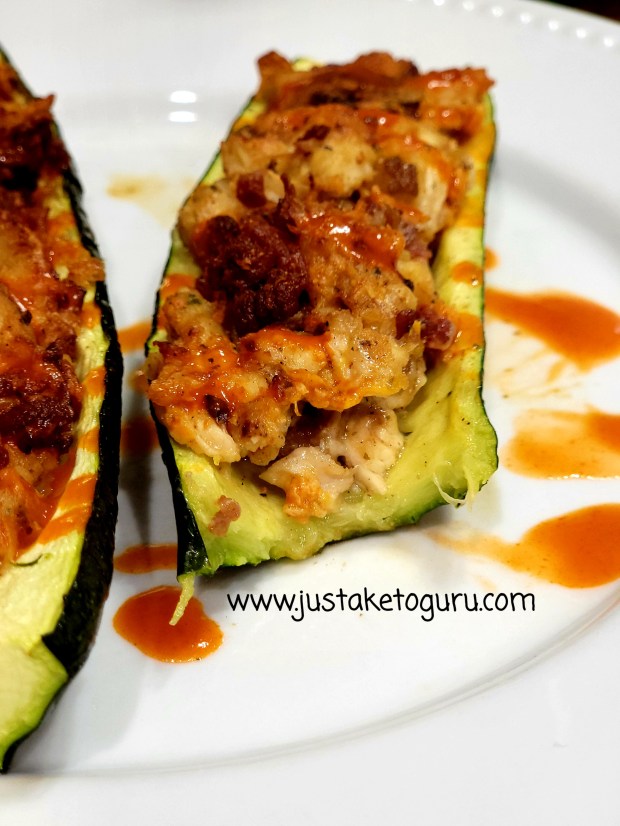
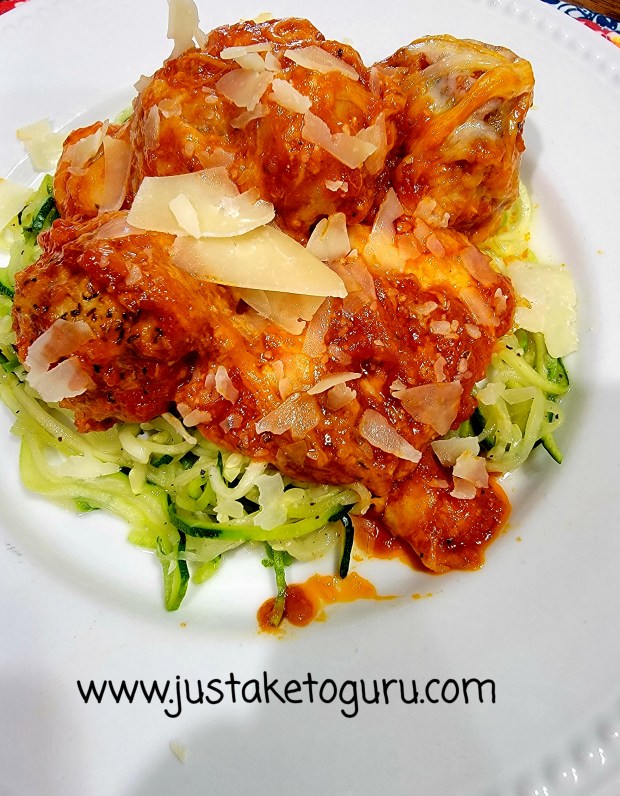
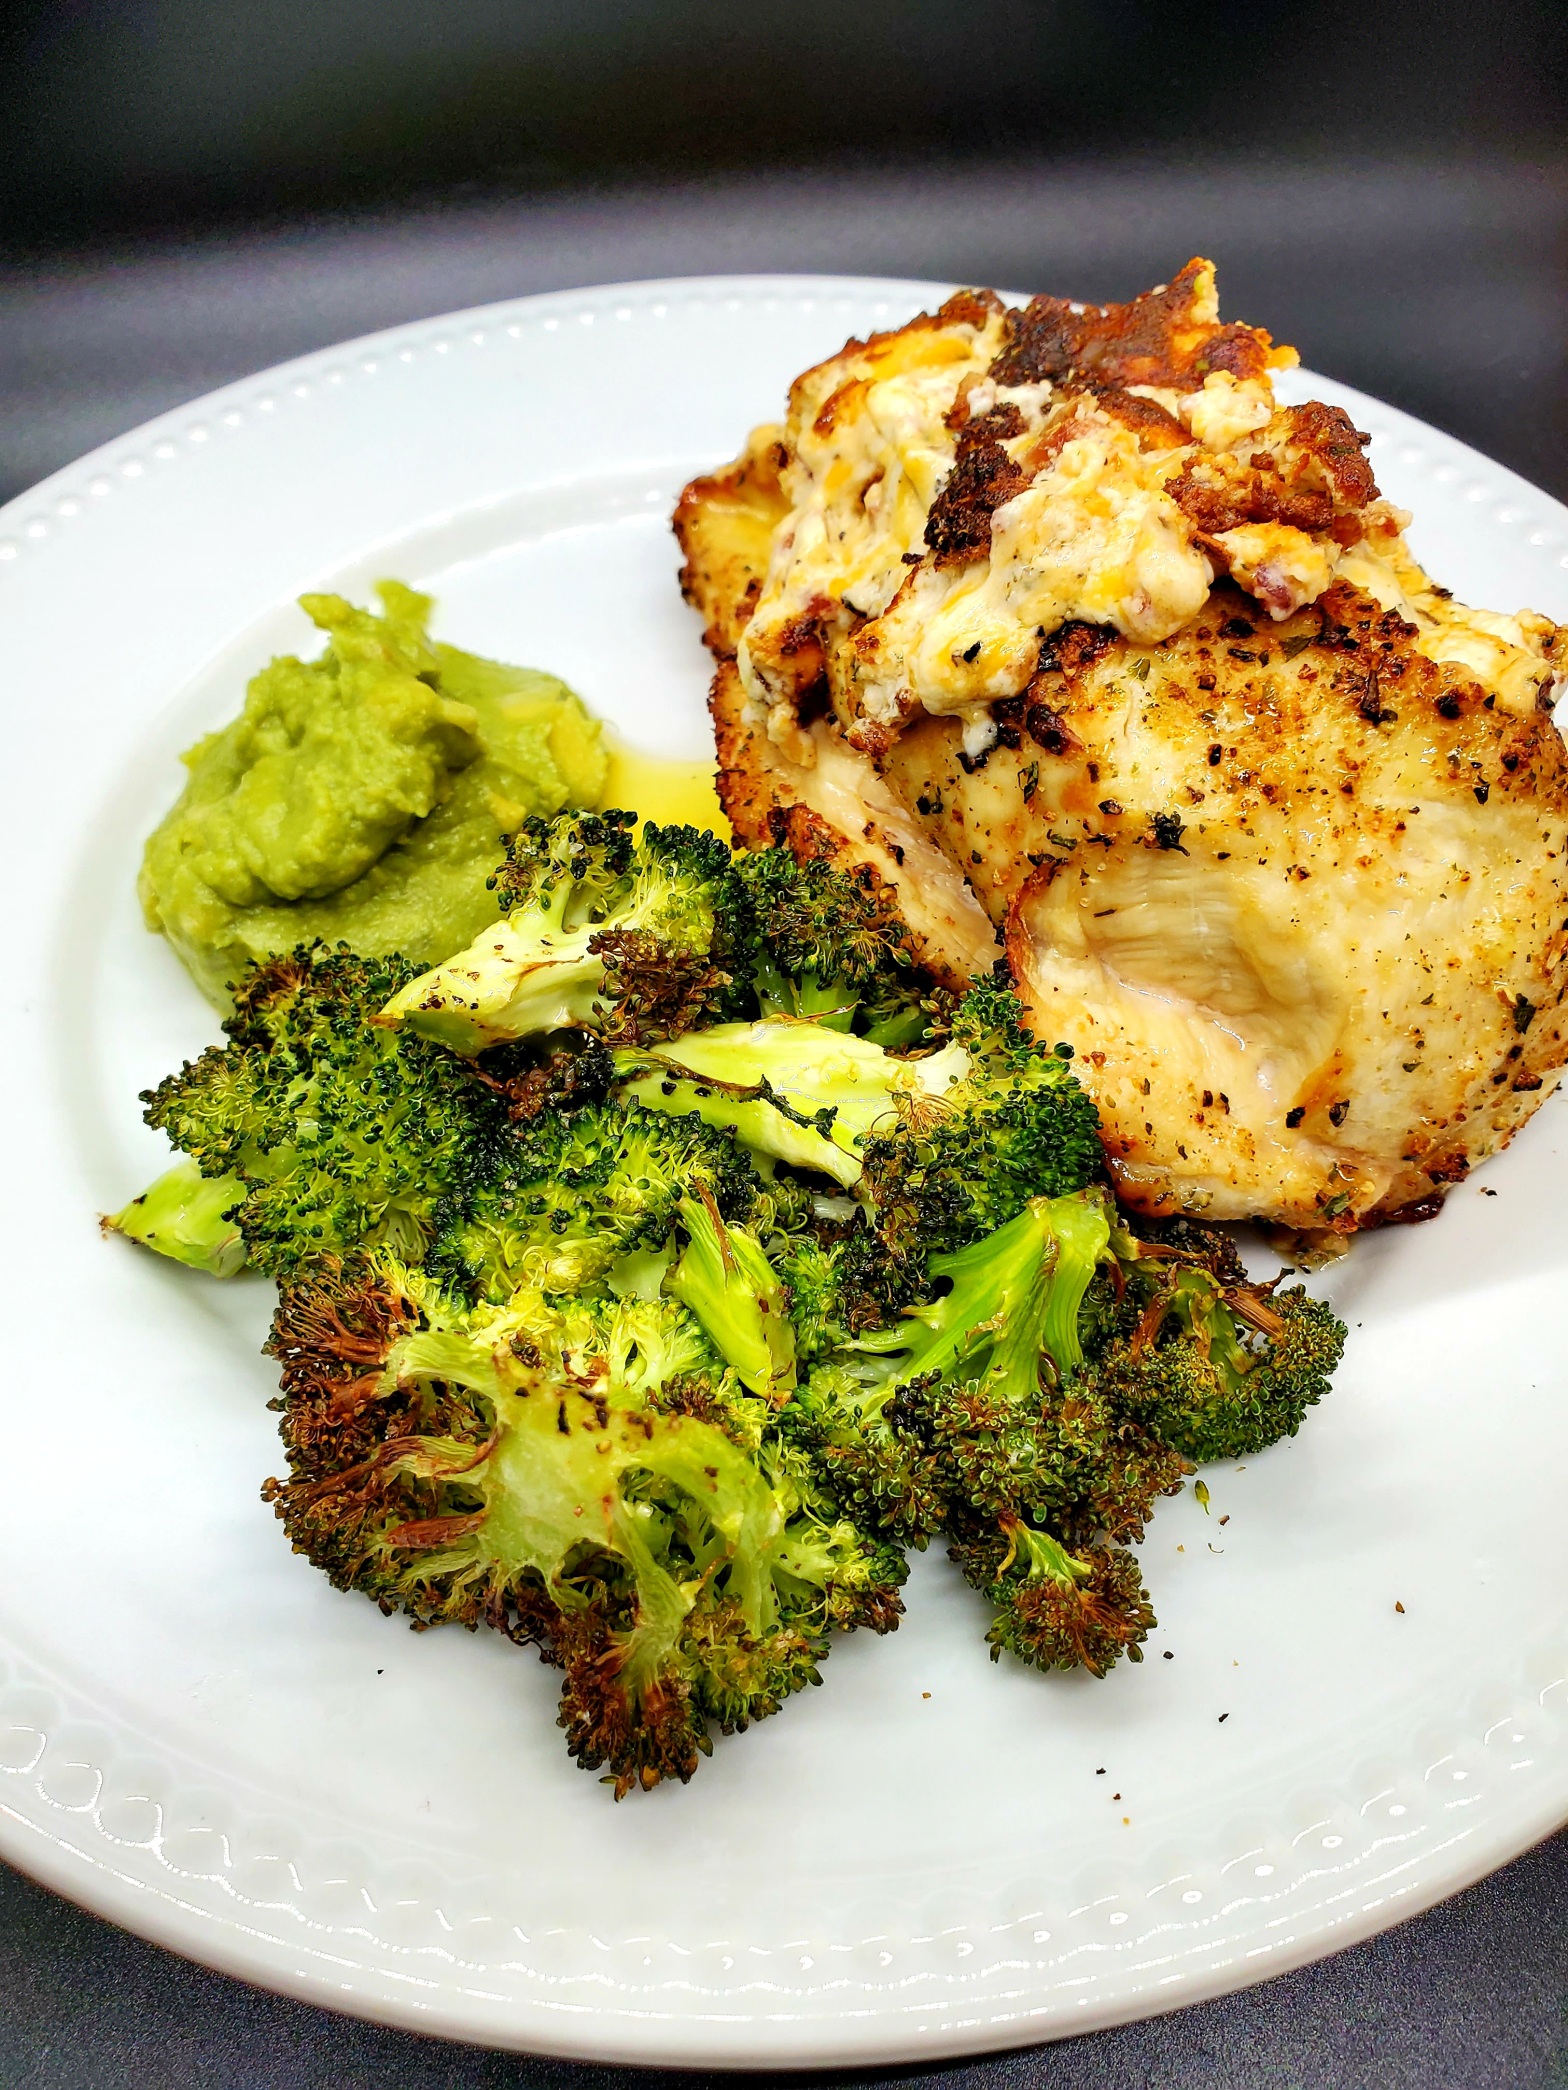
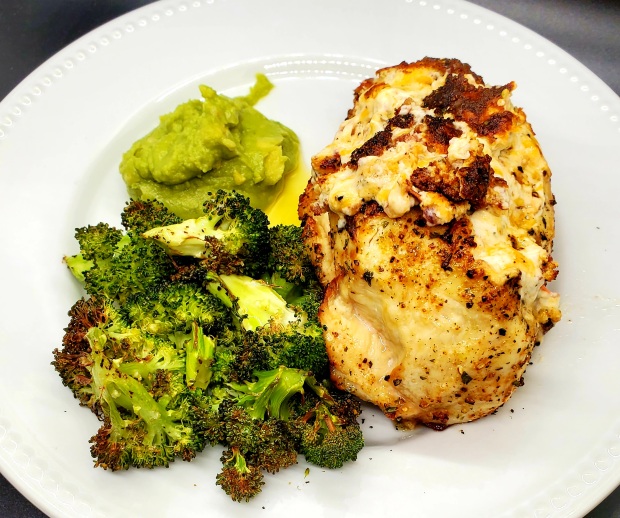
Wow, this turned out to be a crowd pleaser. Super simple, super fresh and super clean keto. There are so many options you can do with a zucchini boat. Tonight, I decided to try a chicken/bacon/ranch version. Hope you enjoy!

Ingredients:

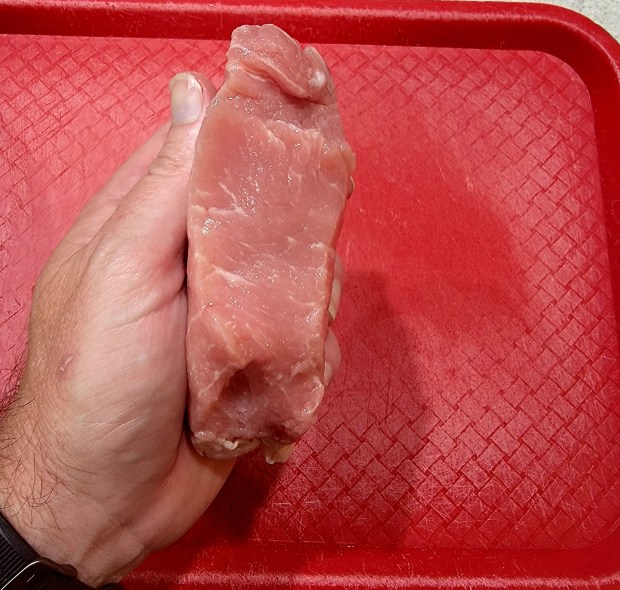
  • 1 1/2 boneless skinless chicken breast
  • 3/4 cup shredded natural cheese, your choice
  • 1/2 cup crumbled bacon
  • Ranch seasoning
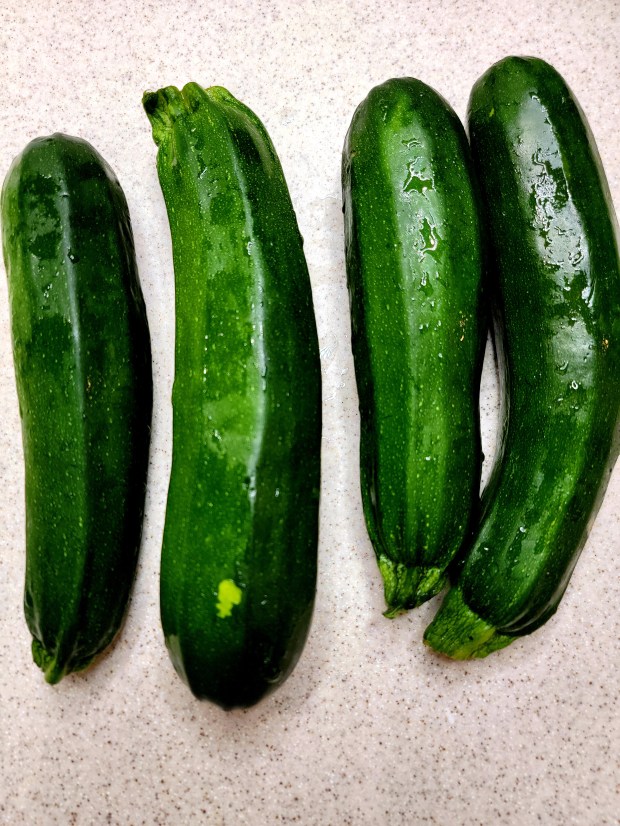
  • 3 large, fairly straight zucchini

Instructions:

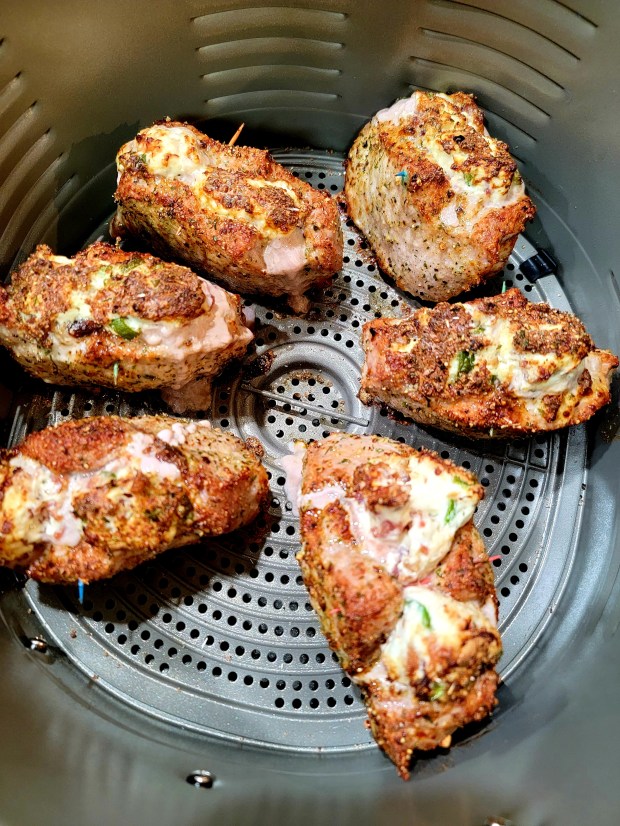
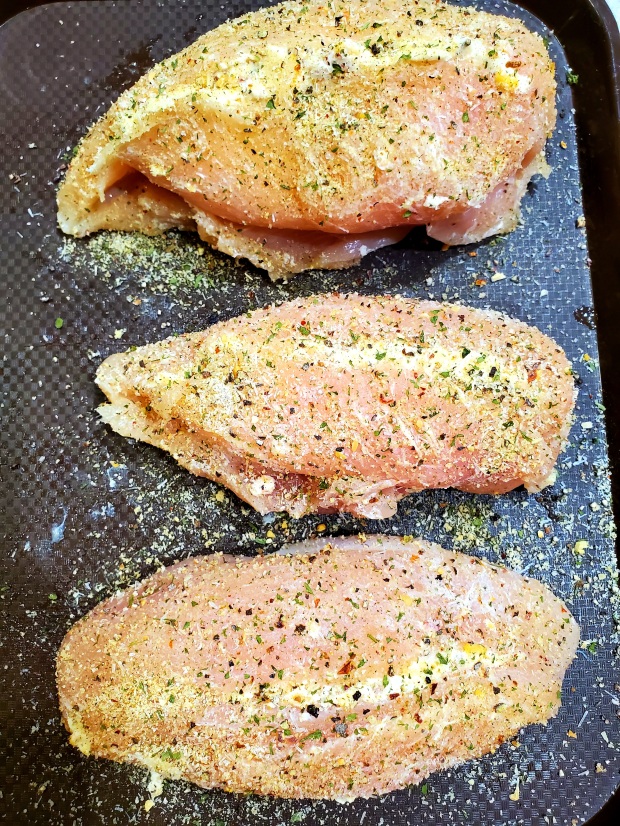
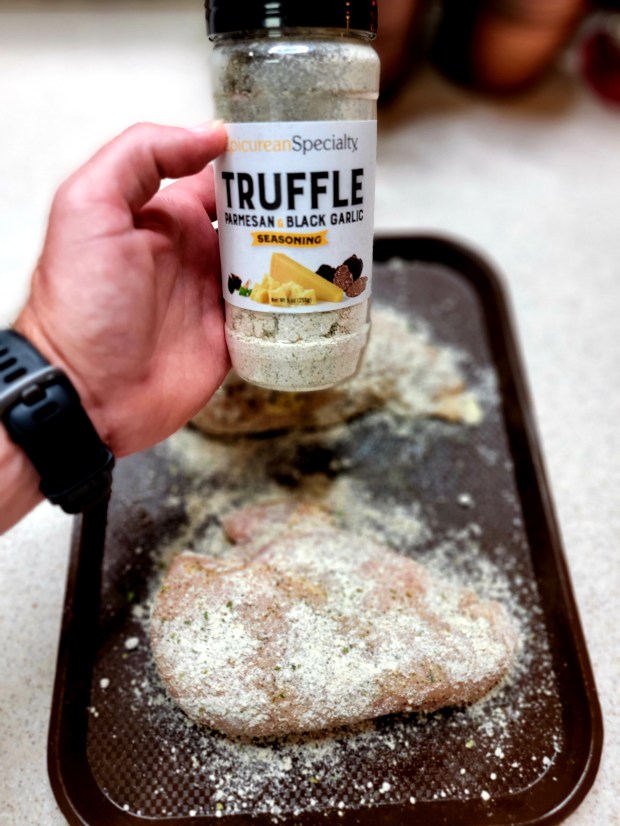
Get your chicken cooking so you can work on your stuffing and boats while it cooks. I prefer to cook mine in the air fryer. I air fry my breasts at 400 degrees for 13 minutes, flipping at the halfway point. Spray with avocado oil and use a seasoning of your choice.

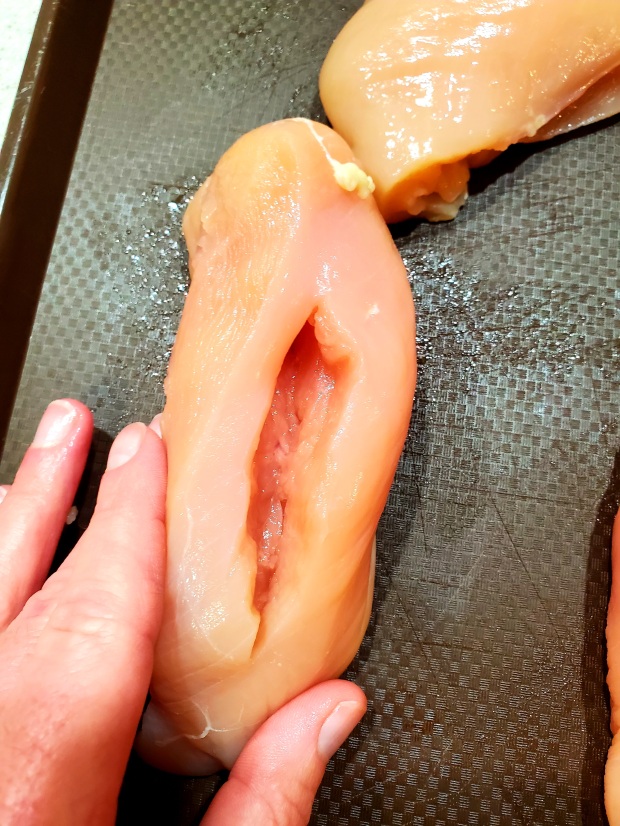
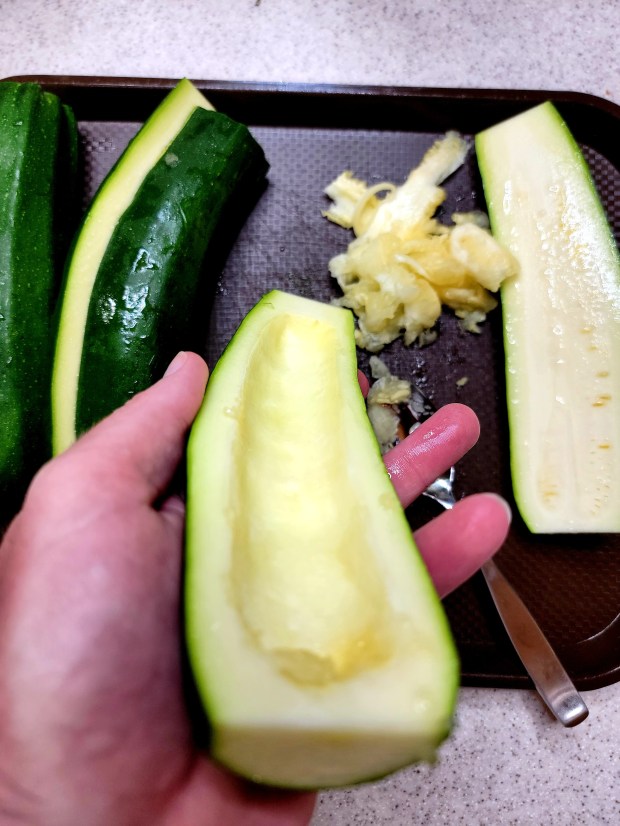
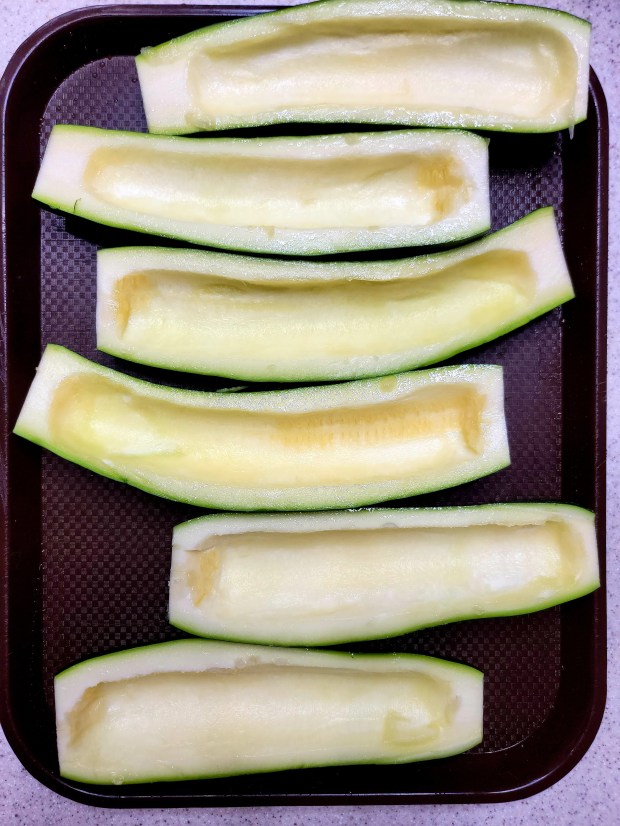
While your chicken is cooking, cut the 2 ends of your zucchini off and slice down the middle. Do the best you can to cut as straight as you can. That’s why it’s important to select nice and straight zucchini.

Using a spoon, scoop out the insides. Be careful not to go too deep and don’t go all the way to the end. You want to create a nice pocket down the center.

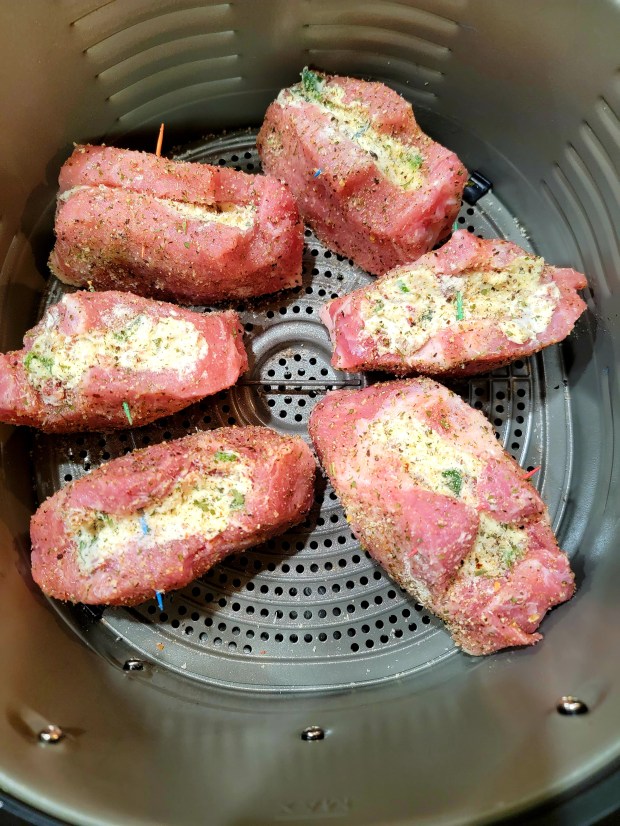
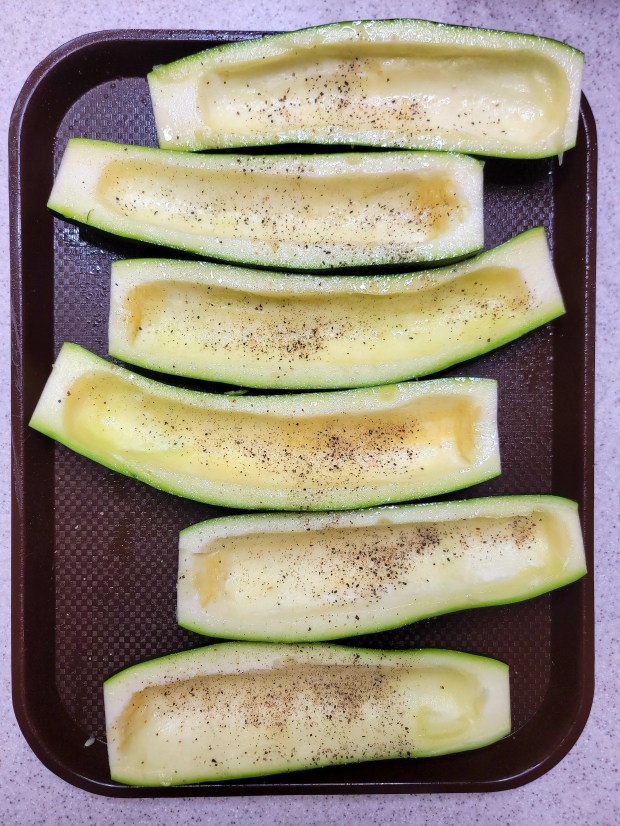
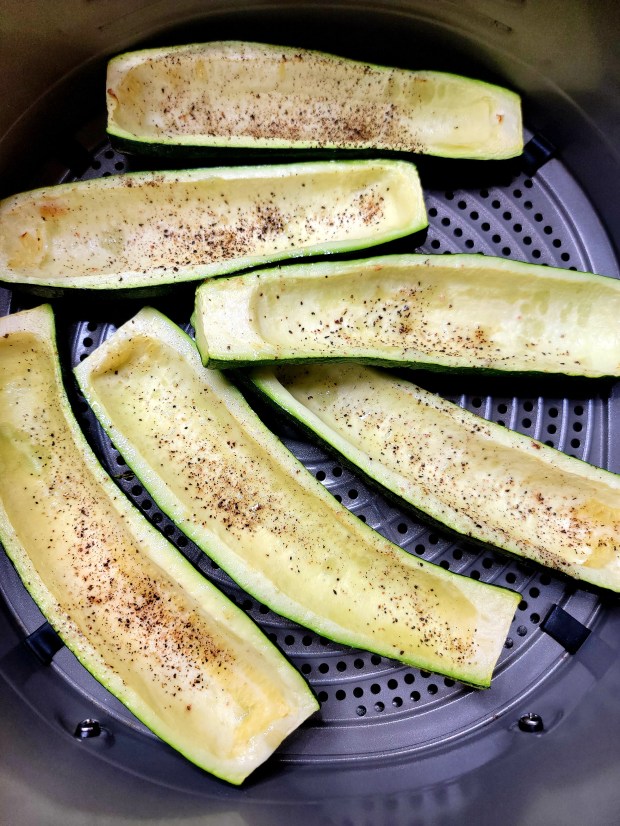
Once you have scooped out the insides, spray with a bit of oil and season with salt and pepper. Place in the oven, or another airfryer if you have 2 like me, and cook for 10 minutes at 400 degrees. We just want to softened them up a bit.

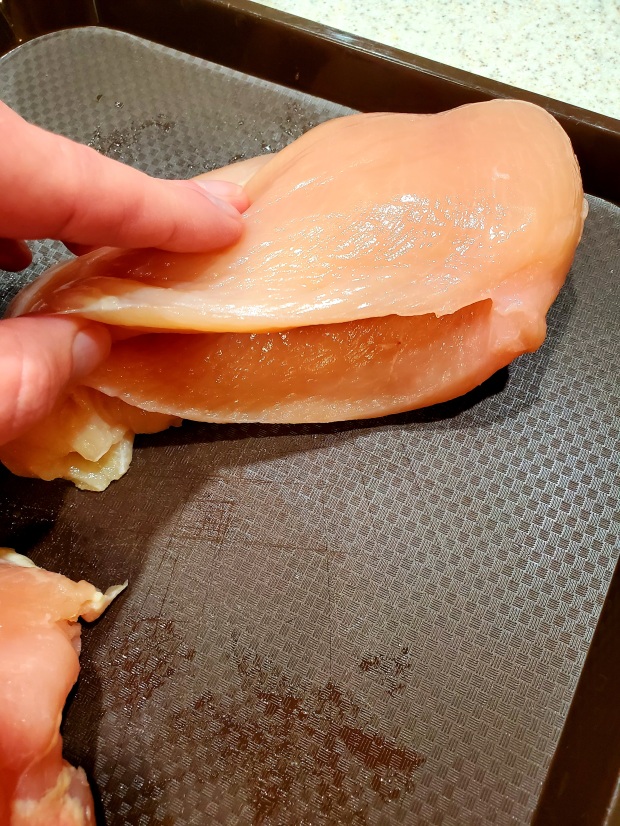
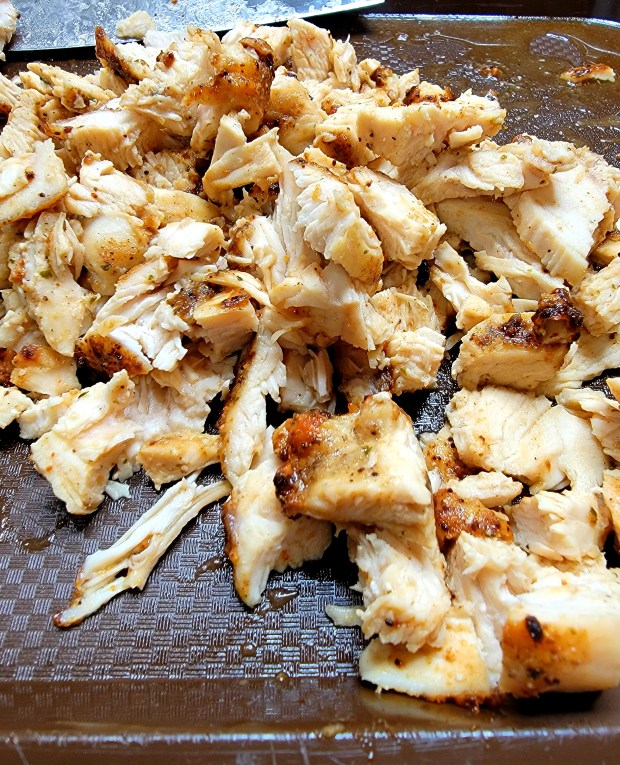
Now, your chicken should be done. Let your chicken rest for no less than 5 minutes. Once rested, slice your breast longway, then chop into small pieces. I only needed 1 and 1/2 breast to fill 6 boats.

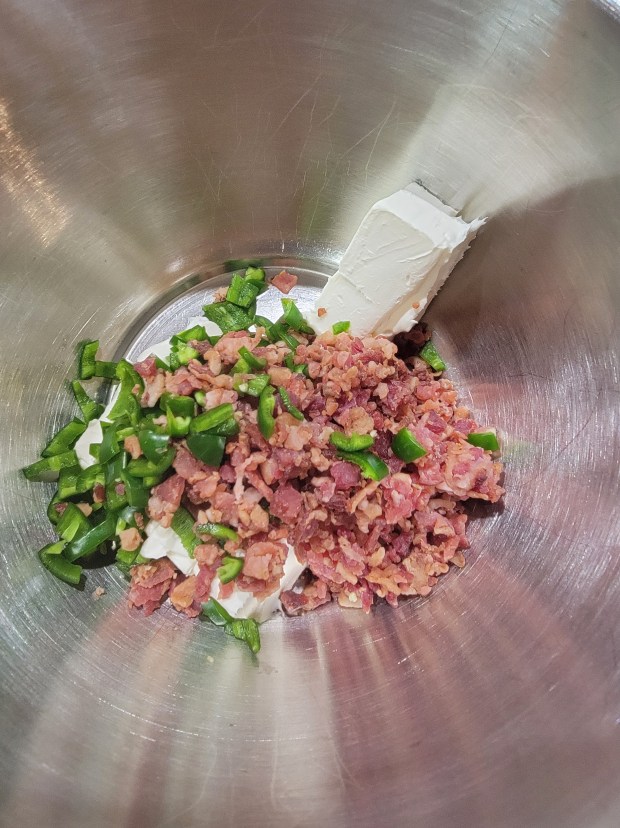
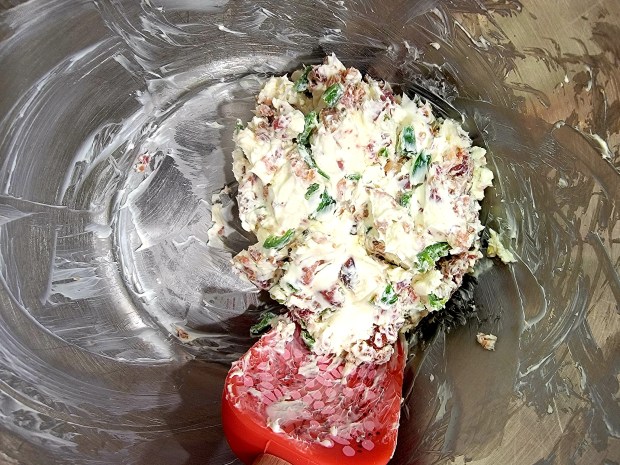
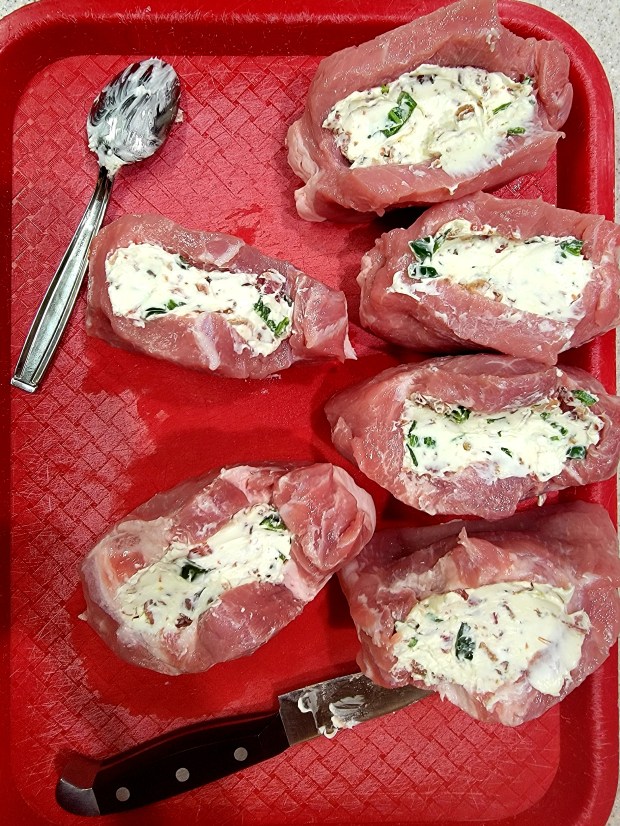
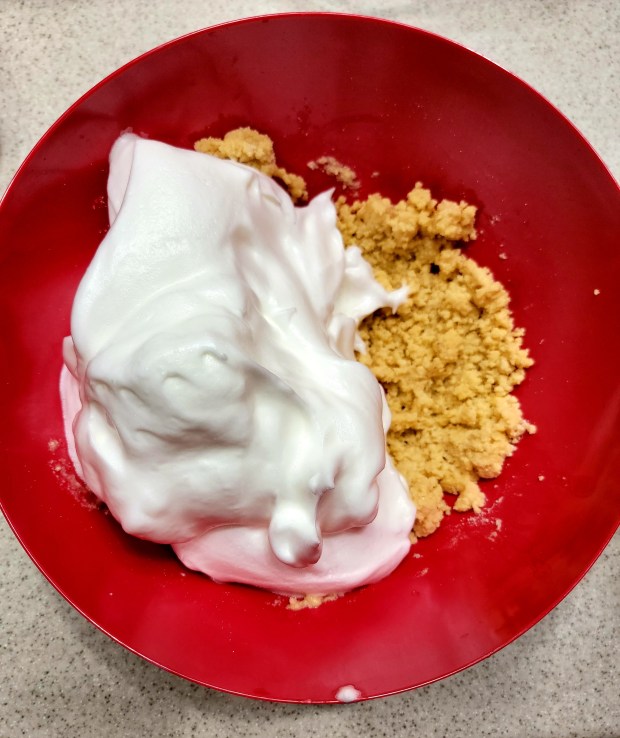
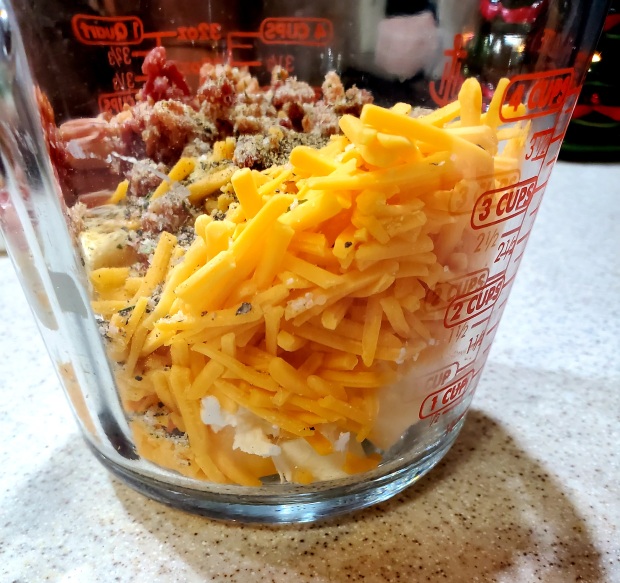
Add your sliced chicken to a mixing bowl, add your bacon and cheese and top with ranch seasoning. I didn’t measure, I just poured what I thought would be good. Mix well. Hit it again with some more ranch seasoning.

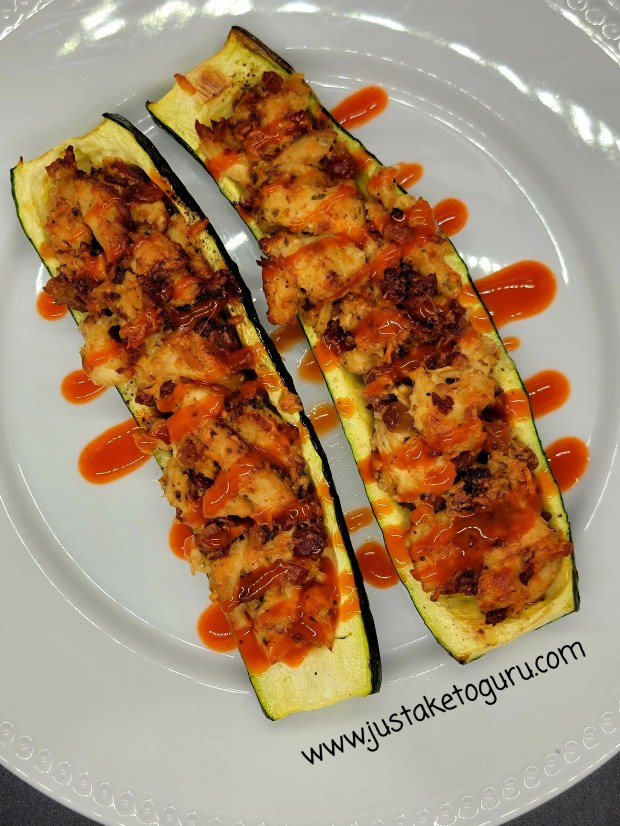
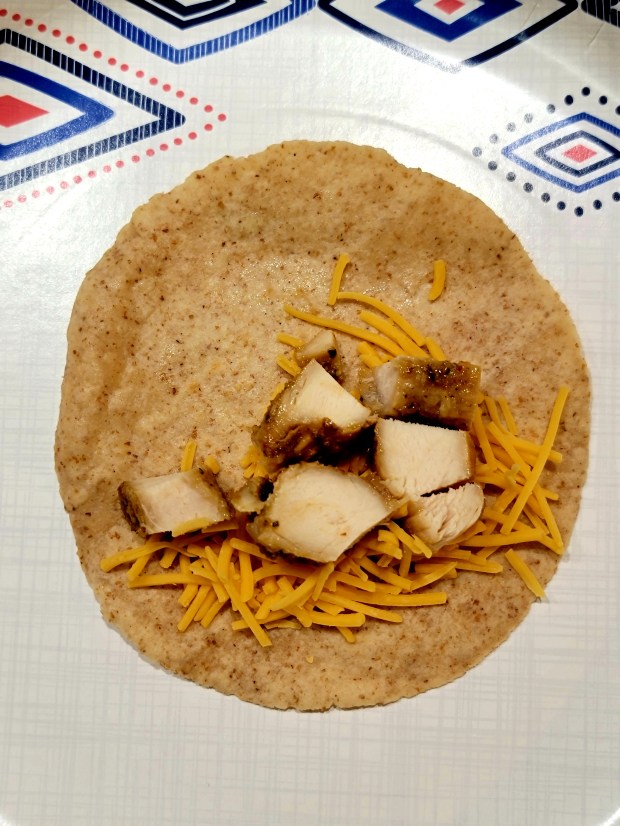
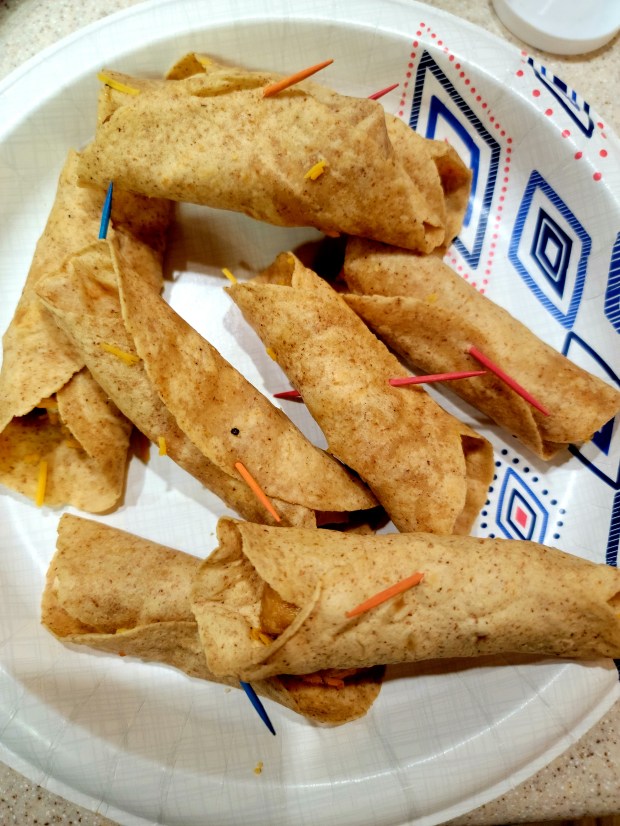
Now, time to get to filling up your boats. Get your spoon and put some of the CBR into the boat. Pack it in real good and make sure it’s not over-flowing. Continue until all of your boats are filled.

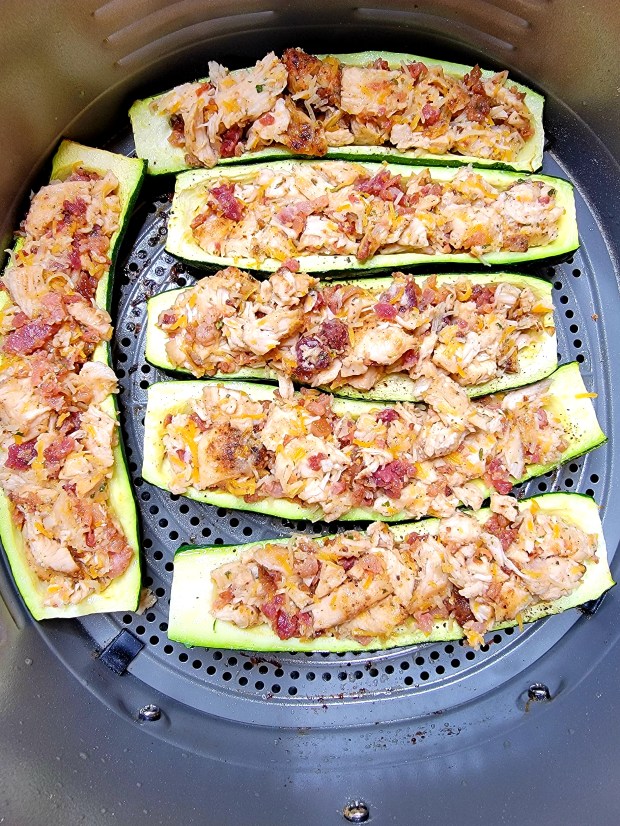
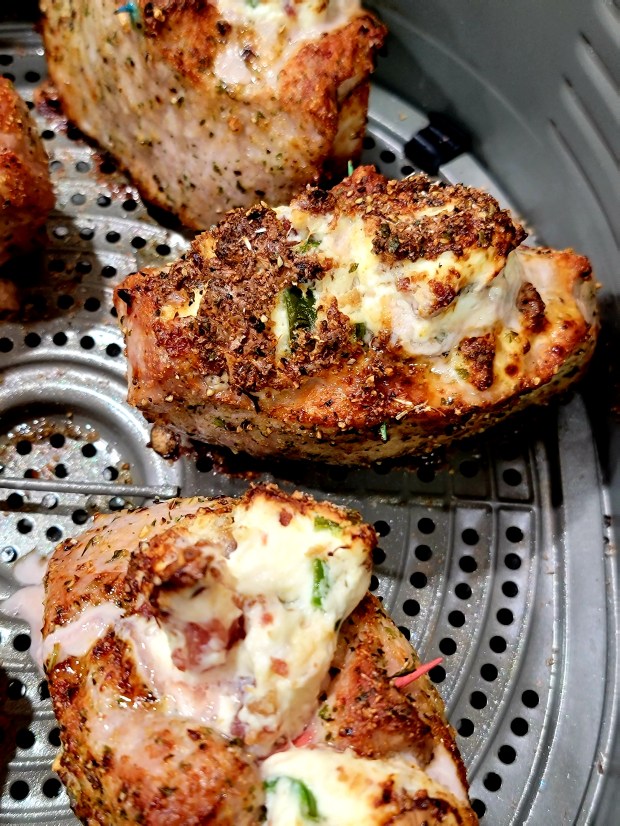
Place your boats into the air fryer or oven and cook at 400 degrees for about 10-15 minutes. You’ll know when they are ready when you see the cheese nice and brown and the bacon looking crispy. Remove, plate and enjoy!

Keto Jalapeno Popper Stuffed Pork Chops

This was plum ridiculous. It’s bursting with flavor and super easy to make. If you like jalapeno poppers and pork chops, you get the best of both worlds here. You are going to want to save this one and make it STAT!

Ingredients:

  • 1 block softened full fat cream cheese
  • 1/2 cup bacon crumbles
  • 4 or 5 fresh jalapenos
  • Seasonings of choice
  • 6 center cut pork loin chops

Instructions:

Begin by preparing the stuffing. In a large mixing bowl, add the cream cheese, bacon and jalapenos. Mix well until combined.

Now it’s time to prepare your pork chops. Begin by slicing a pocket on each one of the chops. Be careful not to cut all the way to the bottom and not too far on the sides. This way, all the stuffing will stay inside.

Using a spoon, pack each one of the pork chops with filling. Start with 1 spoonful in each and then keep adding until you are out of stuffing. You may have to use your thumb to pack it on in there! Use a toothpick across the top to close as best as you can.

Hit wach pork chop with some avocado spray and season to your liking. Don’t be afraid to season here!

Place your chops into the air fryer or oven, standing up. This will ensure all of your stuffing will stay inside during the cooking process. Air fry/bake at 400 degrees for about 17 minutes or you hit a minimum temp of 145 degrees. Remove and rest a few minutes.

Plate and enjoy!

Keto White Bread

Missing bread? You don’t have to miss it any more. This bread is super simple to make. It’s perfect for a burger, sandwich or on the side! The hardest part about this bread is waiting for the bread to cool down to slice it up!

Ingredients:

  • 1 1/4 cups of almond flour
  • 12 egg whites (I just buy the egg whites only at the store)
  • 1 egg yolk
  • 1 tbsp powdered erythritol – you can pick some up here on Amazon –> https://amzn.to/3zxJ5ei
  • 2 tsp baking powder
  • 1/4 tsp cream of tartar
  • 6 tbsp melted grass fed butter
  • pinch of salt
  • 1 scoop unflavored whey protein powder – I got mine here on Amazon –> https://amzn.to/35fPmxm

Instructions:

1st, we must place our mixing bowl and whisk into the freezer while we prep. We want to ensure they are nice and cold to help when we whip the egg whites.

Add all of your dry ingredients, not including the cream of tartar, into a large mixing bowl. Whisk until all combined.

Now that our dry ingredients are combined, go get your ice cold mixing bowl and whisk from the freezer. Add your 12 egg whites and cream of tartar. Work fast, we don’t want the temperature to drop. Whisk on high until very stiff peaks form. This can take anywhere from 5-7 minutes.

When you have nice stiff peaks, we will move back to the dry ingredients. Add your melted butter and egg yolk and mix until well combined.

Begin folding in your egg white whip into the dry bowl. You only want to add 1/2 of the egg whites at a time. Once you have the 1st half folded in, go ahead and add the remaining whites to the dry. Keep folding until it’s nice and consistent.

Now we are ready to put into the bread pan. I choose to line the bottom with parchment paper but I don’t think it’s really needed. At a minimum, spray your pan with avocado oil. Pour the mixture into the bread pan. It may seem like it’s not going to fit, but it will. You may need to work it around a bit but get it all in there.

In a preheated 325 degree oven, place your bread on the bottom rack and bake for 40 minutes. You can place a pan under if you’re worried about it overflowing into the oven. After 40 minutes, pull out and cover in foil. Place back into the oven for 50 minutes covered. Pull out when the 50 minutes are up and allow the bread to completely cool before slicing.

Once it’s cooled, slice and enjoy. You can eat it cool or heat it up in a pan with a bit of butter and toast it. Enjoy!

Keto Meatballs

Want a super simple recipe to knock the socks off of the family? How about one that is super low in carbs? Even better right? Well, look no further. I decided to try a few different style meatballs and they both came out fantastic. This paired very nicely with zoodles, but I can totally see this being made into a meatball sub on low carb bread. You’re going to want to make this one!

Ingredients (yields 8 meatballs):

  • 1/2 lb ground chicken or ground beef
  • 1/2 lb ground pork
  • 1 egg
  • 1 cup grated parmesan
  • Salt/Pepper to taste
  • 1 tbsp minced onion
  • 1 tbsp garlic powder
  • 1tbs italian seasoning
  • Low carb marinara sauce (I use Rao’s. You can find at Costco, Kroger’s and many other grocery stores)
  • Mozzarella cheese (enough to cover like you like)

Instructions:

  • In a large mixing bowl, add all of your ingredients and seasoning at 1 time except the mozzarella and the marinara sauce. Mix together thoroughly. You will probably need to use your hands to get them combined well.

Once well combined, start forming these into tightly packed meatballs. Place on a parchment paper lined cookie sheet. You should come up with about 8 evenly sized meatballs. If you have an odd number at the end, just add/borrow from what you already have formed. Garnish each meatball with a little extra italian seasoning once rolled.

Note: you see 16 below because I did 8 of each chicken and beef.

Place meatballs in your pre-heated oven at 350 degrees and cook for 40 minutes. There is no need to flip. Just make sure you check the temperature of the meat before calling them good. Pull out and let rest a few minutes before the next step.

In a large oven safe frying pan, place your cooked meatballs evenly spread out. Cover with your low carb marinara and cook on medium heat for 10 minutes on the stove top. While you are cooking on the stove top, go ahead and set your oven to 400 degrees. After your 10 minutes of cooking on the stove top is complete, turn off the fire and cover the top of your meatballs with mozzarella cheese.

Place in the oven at 400 degrees until the cheese is good and melted. For the final couple of minutes, turn your broiler on high and get that cheese extra bubbly. Remove and serve over a bed of zoodles, low carb noodles or even low carb bread. Heck, you can even just eat the meatballs by themselves! Enjoy

Keto “Fake” Stuffed Potato

Now hear me out….. You can really use cauliflower in place of a baked potato. I know this as I’ve been doing it for 3 years now on keto. This actually is better than having a potato, minus all the carbs. You can literally put whatever you want on this thing. This is just a quick reference to what I do since I get asked all the time about my faux potato!

Ingredients:

  • 1 head of cauliflower, cut into florets
  • Grass fed Butter (ok, it’s optional but you’re crazy if you don’t want butter! )
  • Any topping of choice
    • Sour cream
    • Bacon crumbles
    • Sugar free BBQ sauce
    • Guacamole
    • Natural shredded cheese
    • Onions
    • Pickles
    • Jalepeno
  • Protien of choice
    • I smoke meat and vacuum seal for fake potato night!
    • This is pulled pork and chopped brisket

Instructions:

Take your cut up cauli and place in a large microwave safe bowl. Cover with saran wrap. Do not put any water, seasoning or oil. The cauliflower will steam itself inside the bowl covered. Microwave for 8 minutes. If it’s not tender enough for you, microwave some more in 1 minute incriminates. Use extreem caution removing the siran wrap, the steam will burn you!

Add cauli to your plate, add your butter and allow to melt.

Start pilling on the toppings you like. Finish off with a little salt and pepper. Plate and enjoy! This is probably one of the most simple, tasty, easy recipes you will find! Enjoy

Keto Taquitos

Just in time for Cinco De Mayo! I’m bringining you a simple, low carb option for fried taquitos. These are just as tasty as your typical store-bought taquito, only healthier! With just a few ingredients, you can whip these up in a jiffy.

Ingredients:

  • Low carb street taco tortillas (however many you want to eat)
    • I usually order from http://www.mrtortilla.com. These are cheap and excellent tasting tortillas and I use them almost every other day
  • Avocado/Olive oil
    • Just enough to fill the bottom of a sace pan for frying
  • Some kind of cooked protien, I choose chicken
  • Cheese of any kind
  • Guac, sour cream, pico, queso…. anything you like to dip your taquito in
  • Toothpics to hold them together

Instructions:

Start by getting the desired amount of tortillas and warming them in the microwave. I find it easier to roll this way. Once warmed, put on a plate and fill the inside with cheese and protien.

Don’t over-stuff them or you’ll have a mess. Gently roll them tight without tearing the tortilla and pin closed with a toothpick. Repeat this step until all of your desired taquitos are rolled.

In a medium sized sauce pan, heat up your oil. I kept mine on medium heat and it worked out just fine. It only took a few minutes to warm up so I waited to get the oil ready until I was done rolling.

Once your oil is at temp, gently place a few of your taquitos into the oil. Keep an eye on them as it doesn’t take much time on each side. At the halfway point, I removed the toothpick so it sat down in the oil when I flipped. Fry until your desired crispsness. Remove from oil and place on paper towl.

Plate and enjoy! Add your favorite compliment side! Happy Cinco De Mayo!

Keto seafood boil

You don’t have to miss out on a good seafood/crawfish boil. Even if you don’t want seafood, you can basically boil whatever you like in a seafood boil. You’ll see below, I’ve added all keto friendly choices into my boil. Hope you enjoy!

Ingredients: (all optional)

  • 2lbs gulf shrimp, shell on
  • 2 chicken breast cubed
  • Bundle of asparagus
  • 1lb fresh green beans
  • 1 head cauliflower cut
  • 1 package Louisiana crawfish, shrimp, crab boil
  • 1tbs crab boil concentrate (use caution, I think this contains the heat)

Instructions:

Let’s start with getting your stock pot heating up. Fill about 2/3 full of hot water, add the seasoning pack and concentrate. Bring to a rolling boil.

While your pot is coming to a boil, get all your veggies and meat cut up. Everything will go in except the shrimp. They will go in last.

When your pot is at a rolling boil, carefully add all your veggies and meats, except the shrimp. When you do this. You will lose boil. Place the lid back on and let it get boiling again. Stir your ingredients a few times while it’s coming back to a boil.

Boil for about 10 minutes. When your 10 minutes is up, now you can add your shrimp. Put your shrimp in and cook only 3 minutes and then turn the fire off. You can now remove the meat and veggies to a pan. If you like really spicy, let it sit for 15-20 minutes.

I can tell you this… this combination was really spicy. I didn’t let them soak at all after the time was up. The cauliflower was the hottest as they absorbed so much seasoning. Anyways. You may need to play with seasoning and time to find your sweet spot! Hope you enjoy!

Keto Pound Cake

I know I’ve been away for a while but the wheels have still been turning. It’s been crazy busy and I’m trying to get back to posting frequently. So, upon my return to the blog, I bring you keto pounds cake. Yes, you heard it. You can whip this up in a jiffy (45 min max) and dress it with your favorite keto toppings like whipped cream, strawberries, blueberries, cream cheese or even peanut butter. Hope you enjoy a much a I do!

Ingredients:

  • 1 and 1/4 cup almond flour
  • 3/4 cup Keto approved sweetener
  • 1tsp baking powder
  • 1/4tsp salt (remove if you use salted butter)
  • 4 eggs
  • 4tbs softened butter
  • 4tbs softened cream cheese(1/2 block)
  • 1tsp vanilla

Instructions:

In a mixing bowl, add your softened butter and keto sweetener. Whip until light and fluffy

Once your sweetener and butter is light and fluffy, add your cream cheese. Beat until it’s nice and whipped. It should resemble cream cheese icing.

Add your vanilla and start adding 1 egg at a time. Do not add them all at once. Incorporate 1 after each gets beaten into the batter.

After you incorporated all of your eggs, add your baking powder and almond flour. Mix together until your batter is nice and smooth.

Here’s where you have a decision to make. You can either use a loaf pan, cupcake pan or mini loafs as I have. I suggest this option because the serving is perfect for 1! Take a spoon/ladle and seperare evenly among the 8 mini loafs. Ensure you spray with oil prior. I used avocado oil and they never stick.

In your pre-heated 350 degree oven, bake until golden brown. This should be right around 30 minutes. If they are jiggly, add some time. You can use the toothpick test too. Should pull out clean when inserted into the middle of the loaf. Pull out and enjoy!

Keto Fudge

Just in time for Christmas, here’s a holiday favorite, of course Keto. It’s so simple to make and fully customizable!

Ingredients

  • 1 cup Keto approved chocolate chips
  • 1 cup heavy whipping cream
  • 2tbs grass fed butter
  • 1/3 cup Keto powdered sweetener
  • 2tsp vanilla
  • Handful any nut of choice

Instructions:

In a decent sized frying pan, combine your butter, sweetener and heavy cream in between medium and low setting. This needs to be stirred continously to keep the ingredients from burning. Keep stirring for about 15 minutes until the mixture is good and thick.

Once your done thickening your mixture, remove from the heat and set aside about 5 minutes. Dump your cup of chocolate chips into the mixture and get to stirring again.

In a 9×9 square pan, line with parchment paper. Pour the hot fudge into the pan and even it out. Garnish with whatever nut you choose.

Place pan in fridge for no less than 1 hour. I did 2. Remove, slice and enjoy. These need to be stored in the fridge as they start to melt quickly because of the Butter.

Keto Cream Cheese Stuffed Air Fried Chicken Breasts

This turned out crazy good. I just decided I wanted cream cheese stuffed breast so I made it happen. Mixed in some bacon crumbles and cheddar cheese, Boom! This is a perfectly balanced macro, high fat from the cream cheese and your protein from the chicken. Not to mention, it’s super quick and easy to cook in the air fryer!

Ingredients (yields 3 breast)

  • 3 large chicken breasts, not split
  • 1 block (8oz.) cream cheese, full fat
  • 6tbs. bacon crumbles
  • 1 cup natural shredded cheddar cheese
  • Seasonings of choice

Instructions

Remove your chicken from your package. Cut a small slit on the large side of the breast. Do not cut all the way across, you just want to make a small pocket. You can insert the knife into the opening and work the pocket left to right.

In a mixing bowl, add your cream cheese, bacon, cheese and seasonings. Mix well until all ingredients are combined. Your cream cheese needs to be soft, but not too soft. It needs to stay somewhat firm so it doesn’t run out when cooking.

Open your pocket on your breast and start stuffing away. Now, I did fit all 8oz. mixture into 3 breasts. I’m sure I could have used less, but why not? Pack them in until your pocket is good and packed.

Seal the breast as closed as you can. Insert a few toothpicks if you want, it will help hold them together. Season your chicken with your favorite seasoning. Don’t forget, get that seasoning on there, don’t be scared.

Place in your air fryer, seam side up. You will not flip these so the cream cheese doesn’t run out. Air fry at 400 degrees for about 14 minutes, or your internal temp hits 165. Remove, plate and enjoy!!