Keto Cream Cheese Chicken Chili Soup

This is a close companion to the crack chicken recipe I have posted. The difference here is a little more spice and some cauliflower rice/pears. It’s so super simple since it cooks in the crock pot all day. Just come home, remove the lid, shred the chicken, and enjoy. There are so many yummy flavors in this dish!

This soup paired very good with our Keto Cornbread. You can get that recipe here –>> https://justaketoguru.wordpress.com/2020/12/03/keto-cornbread/

Ingredients:

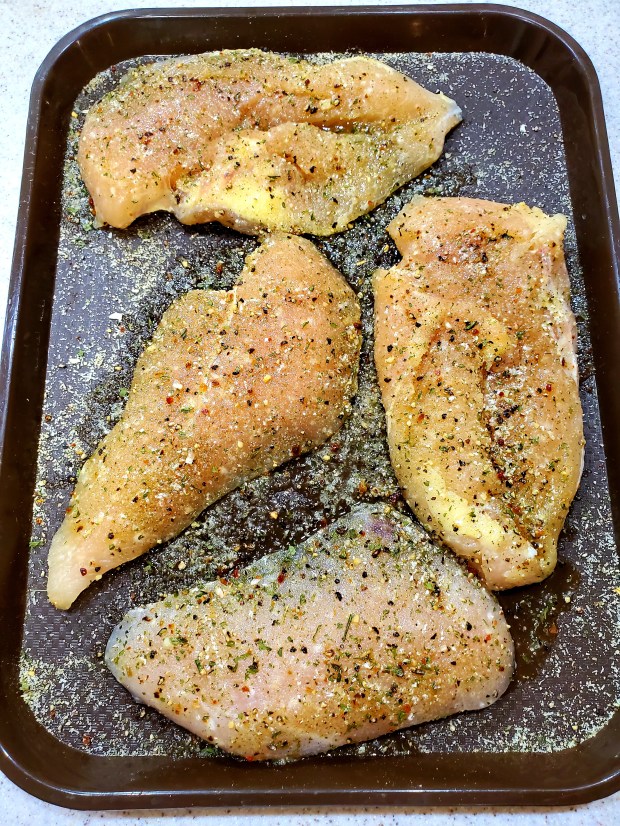
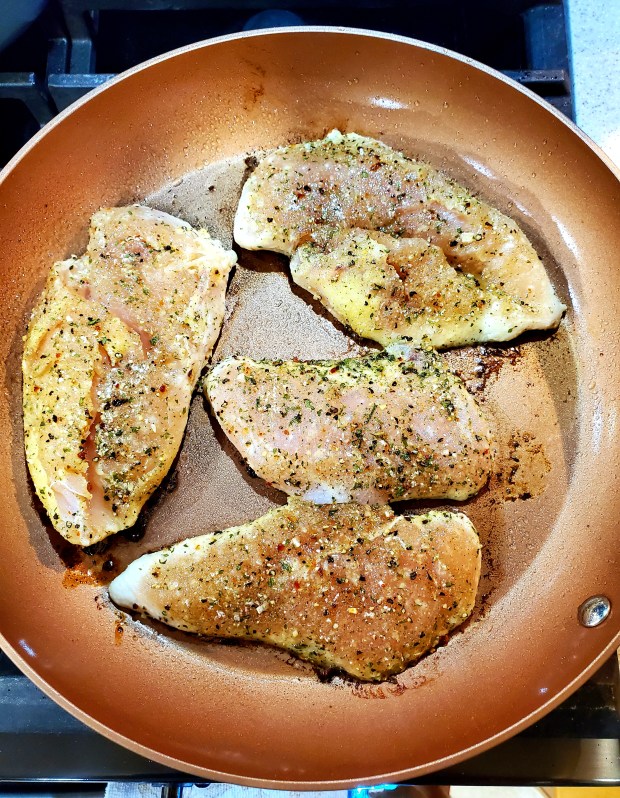
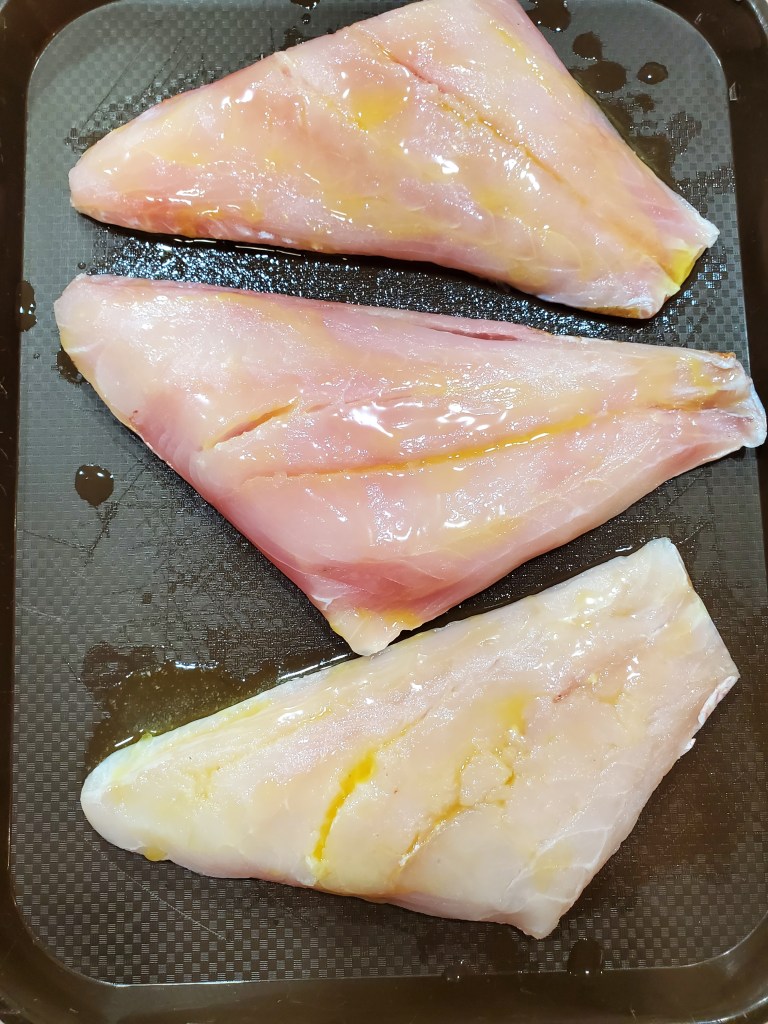
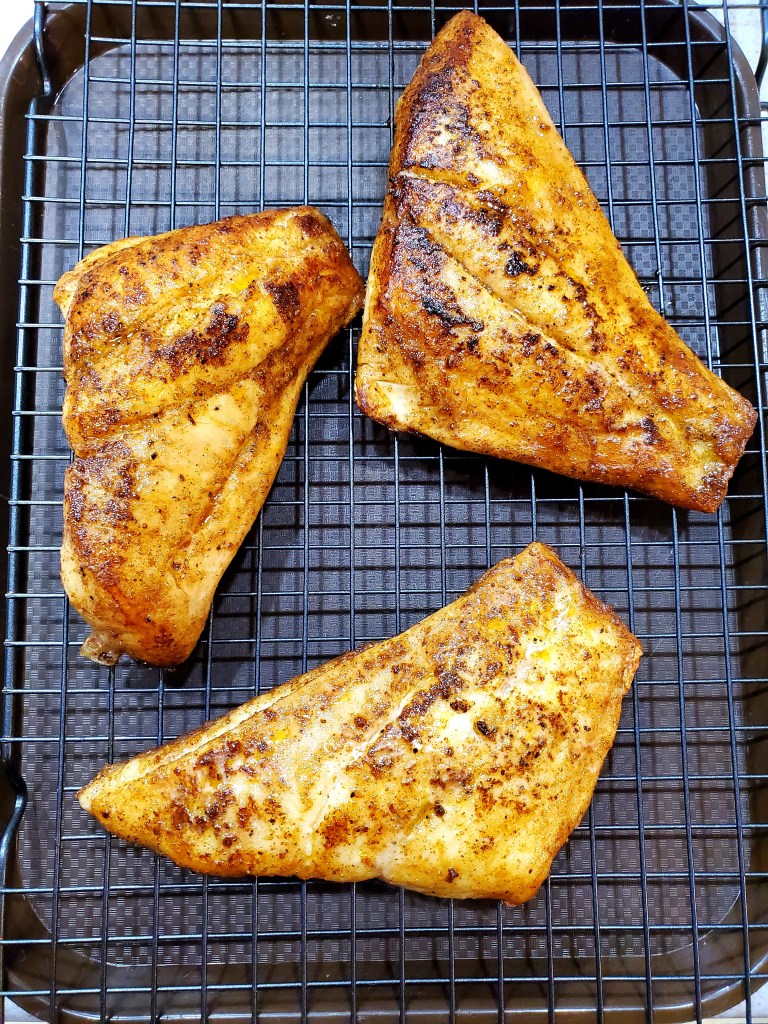
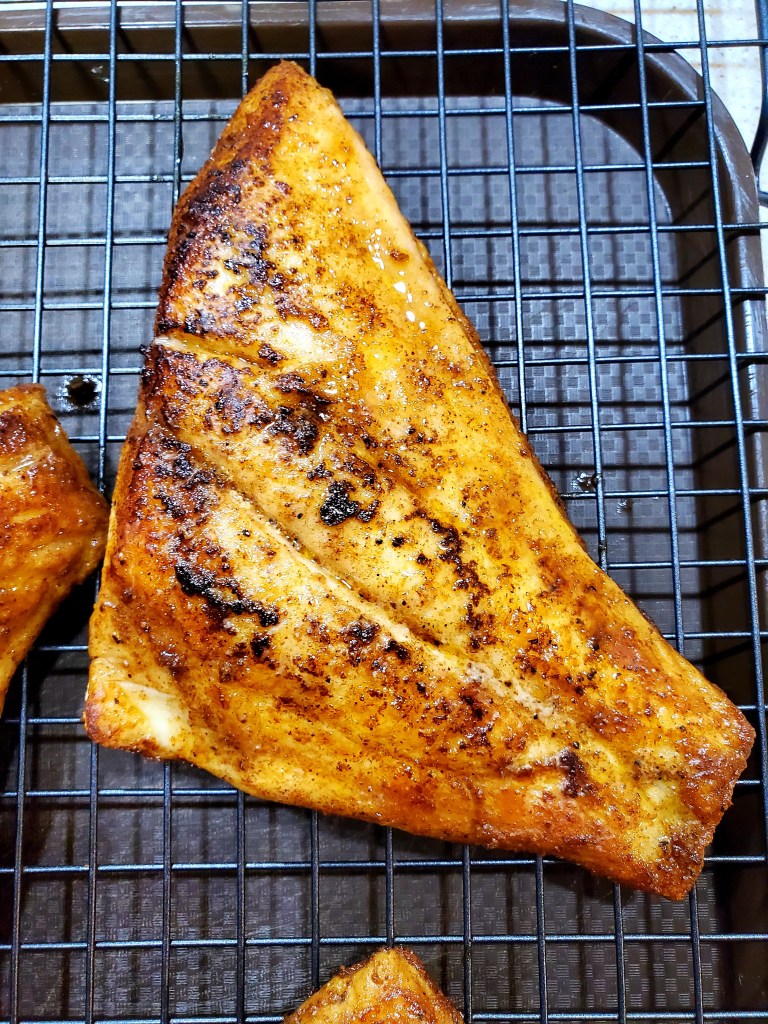
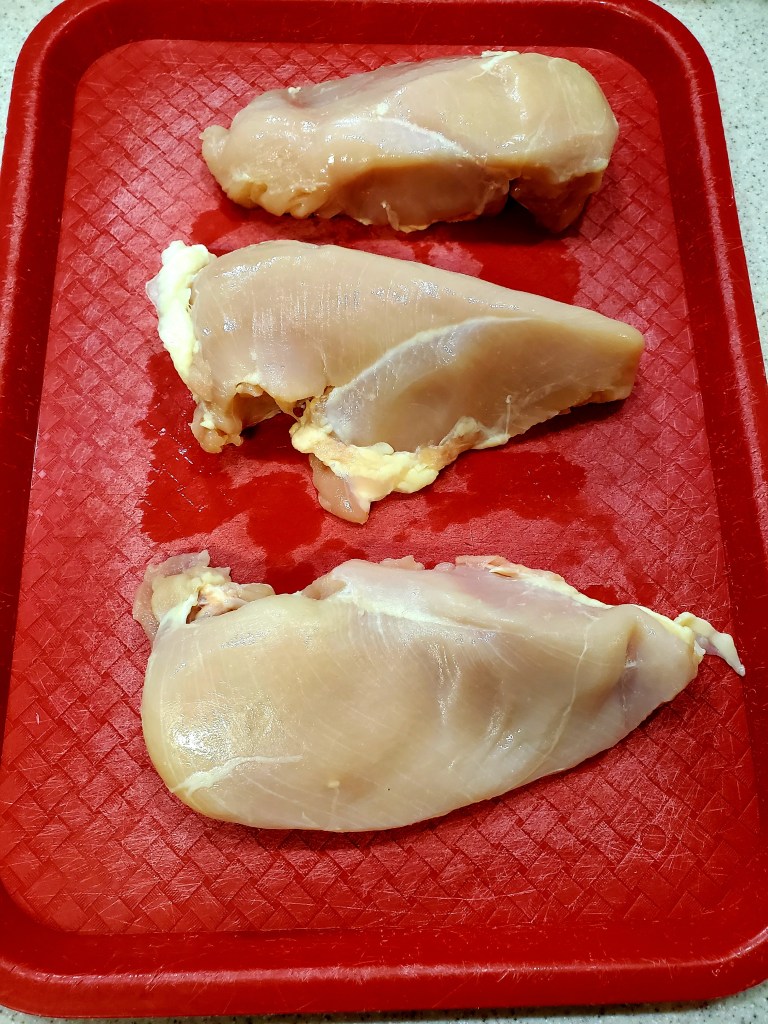
  • 2 large split chicken breasts
  • 2tbs heavy cream
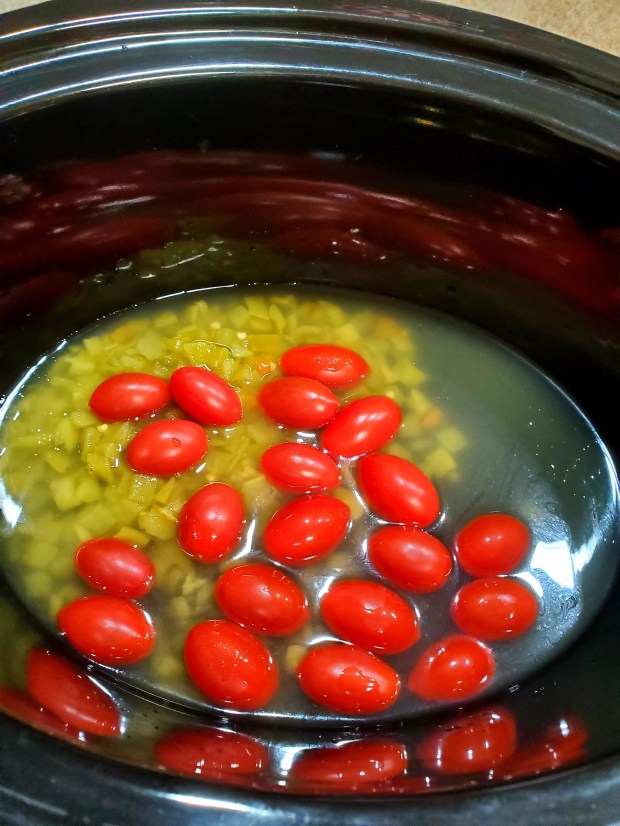
  • 15-20 cherry tomato’s
  • 1 can (4.5oz) green chiles
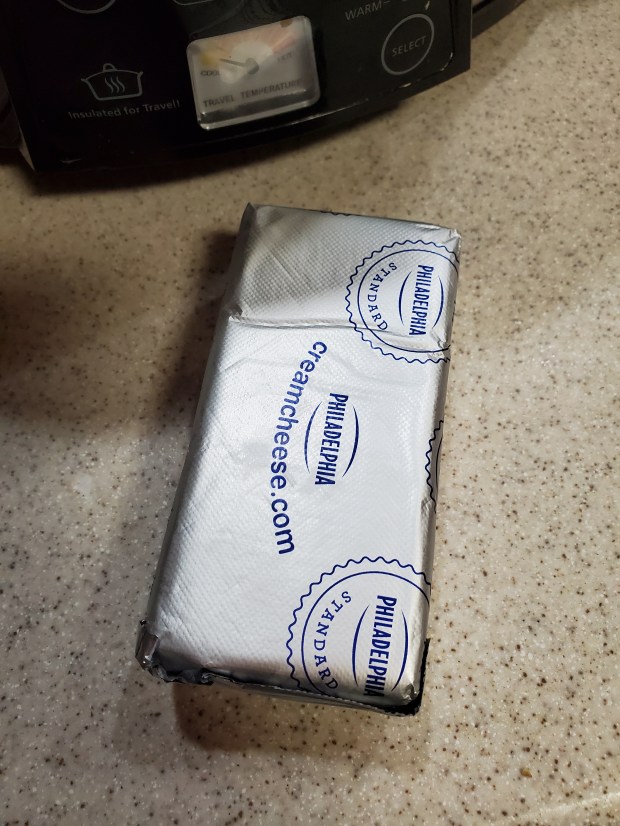
  • 1 8oz block cream cheese cubed
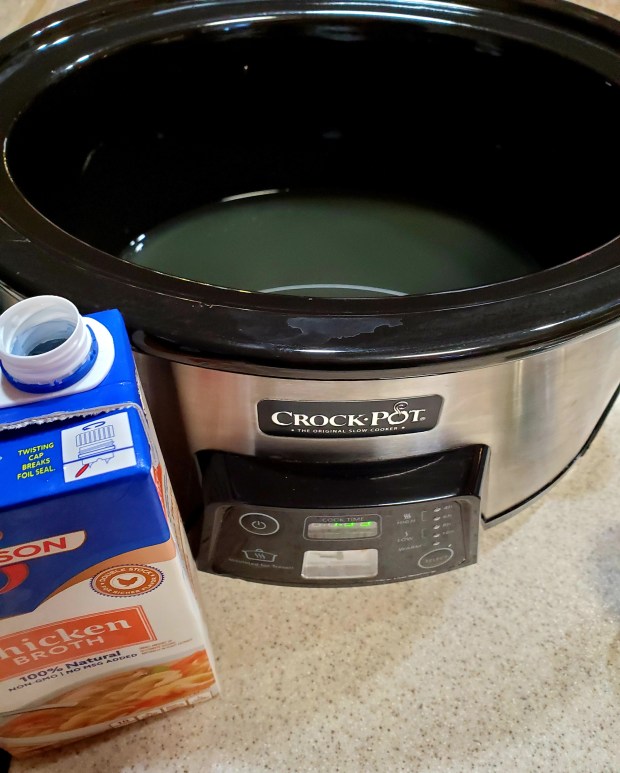
  • 1.5 cup chicken broth
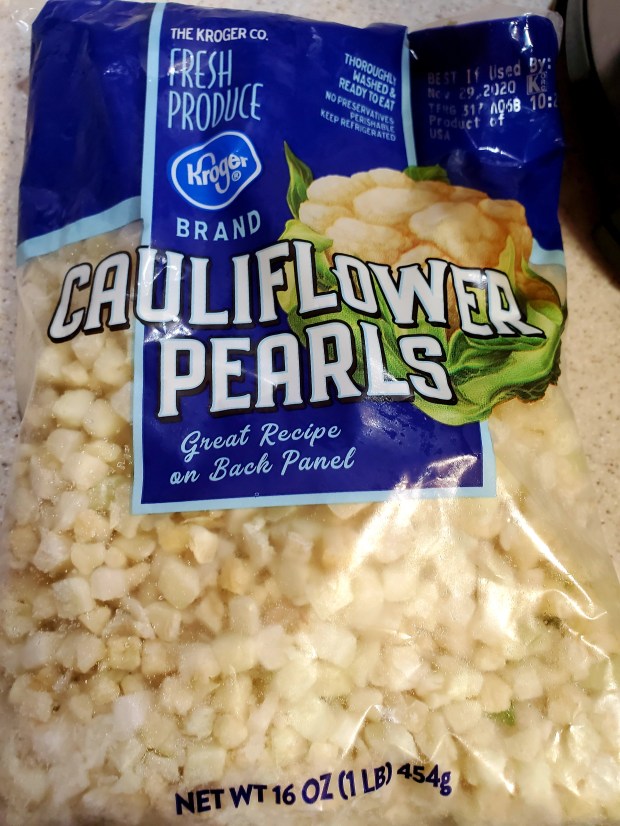
  • 1 (16oz) bag of cauliflower pears
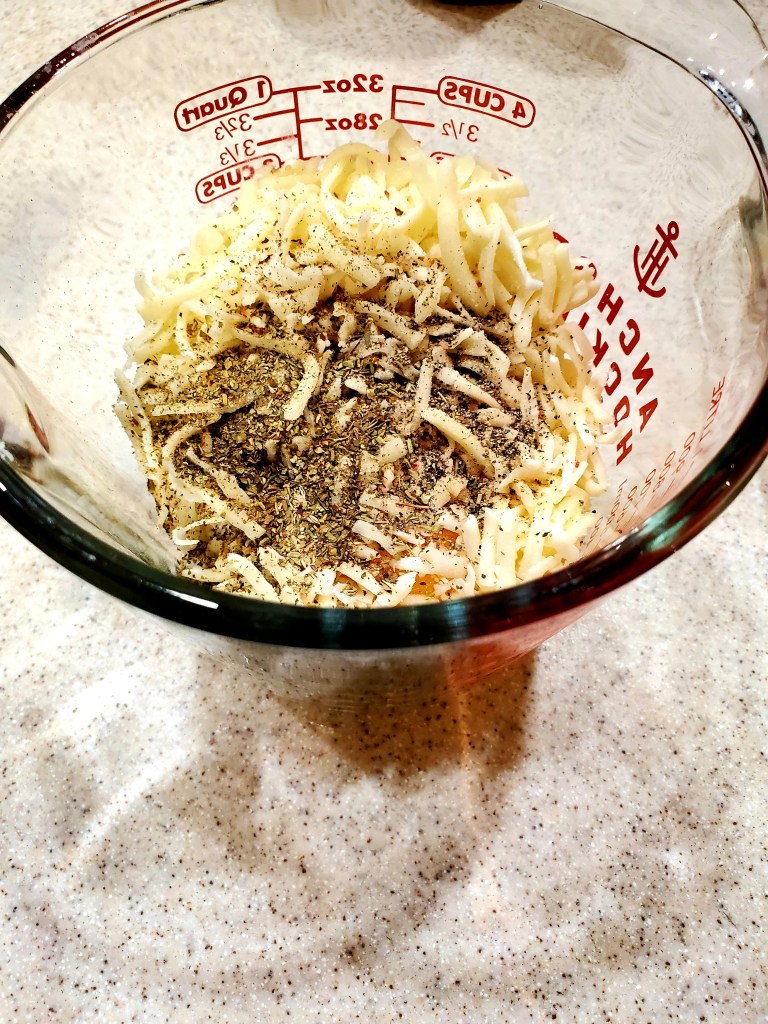
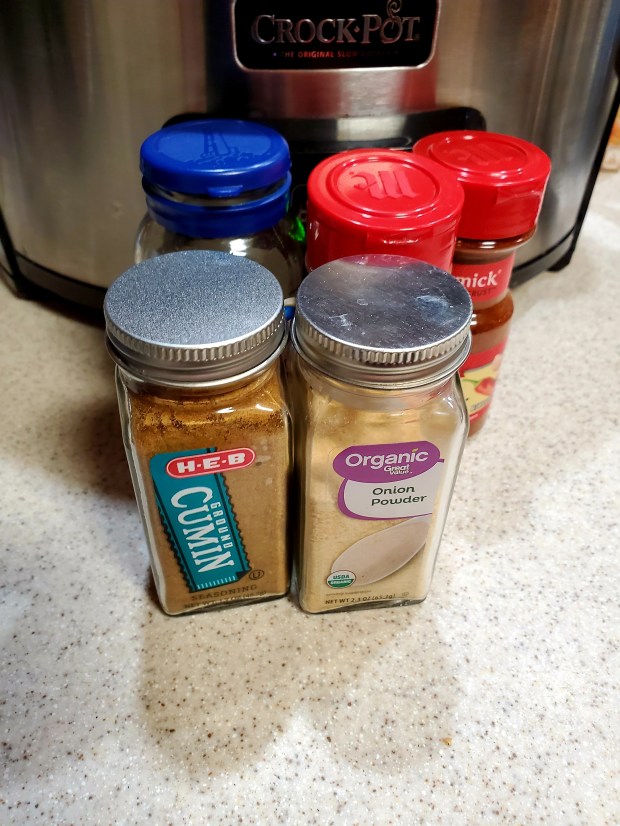
  • Seasonings
    • 1.5tsp chili powder
    • 1tsp salt
    • 1tsp dry parsley
    • 1tsp cumin
    • 1/2tsp garlic powder
    • 1/2tsp onion powder
    • 1/2tsp pepper

Instructions:

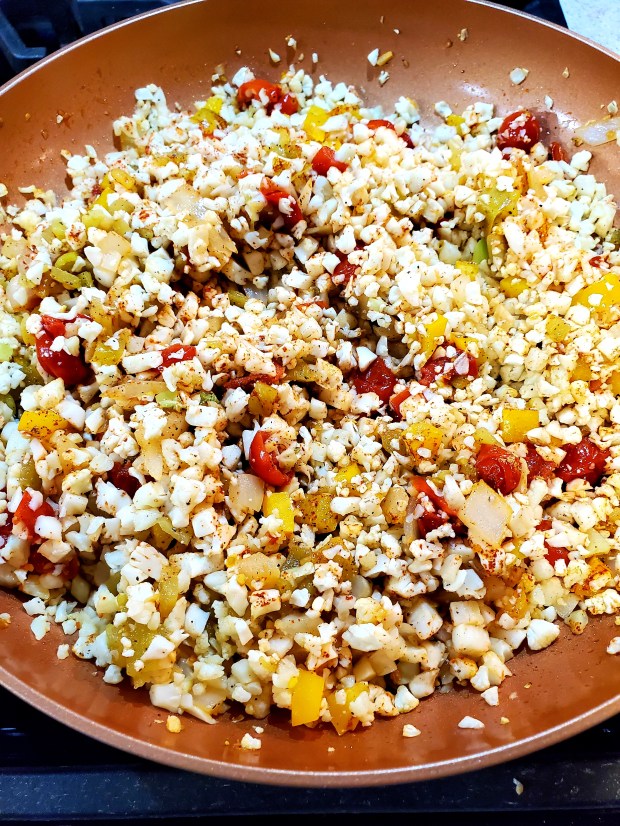
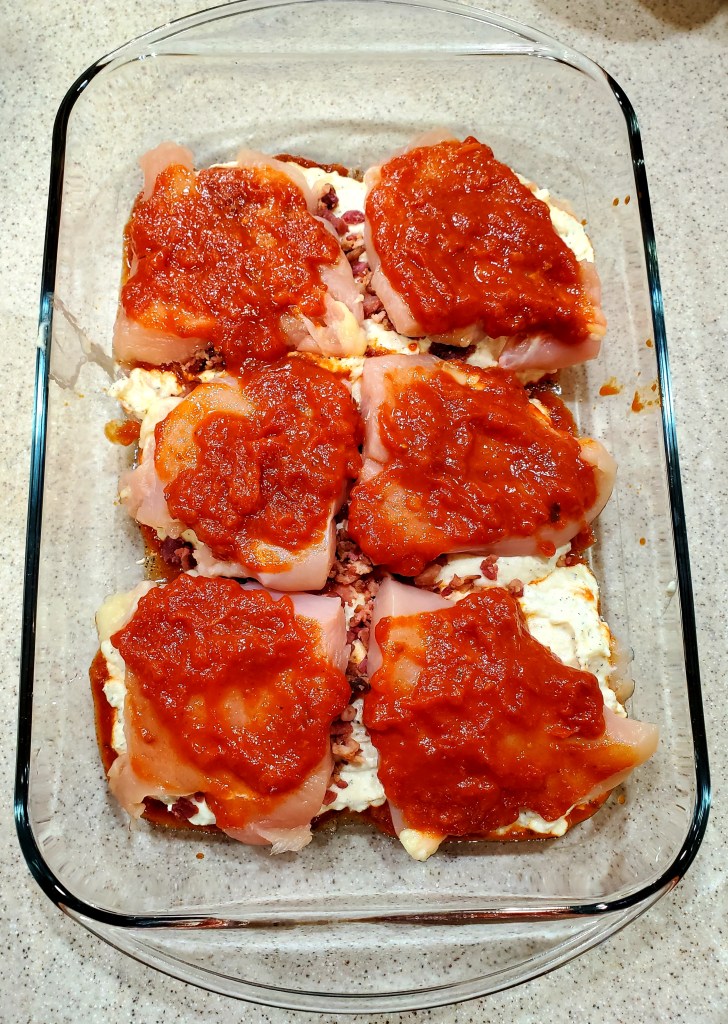
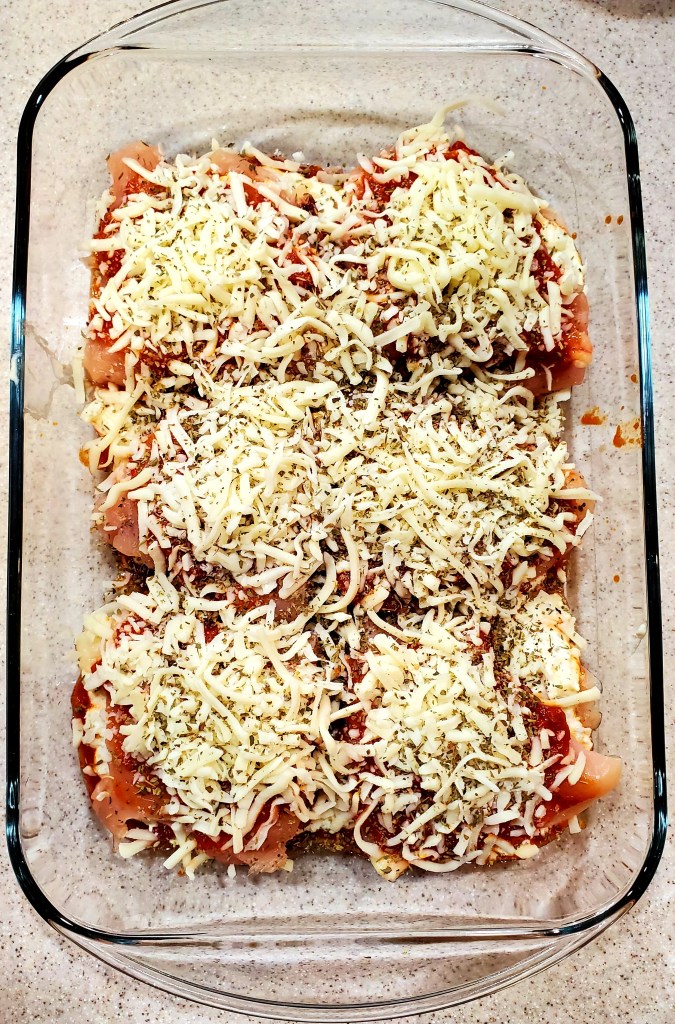
In your crock pot, add all of your ingredients. There’s no need to mix or stir at all.

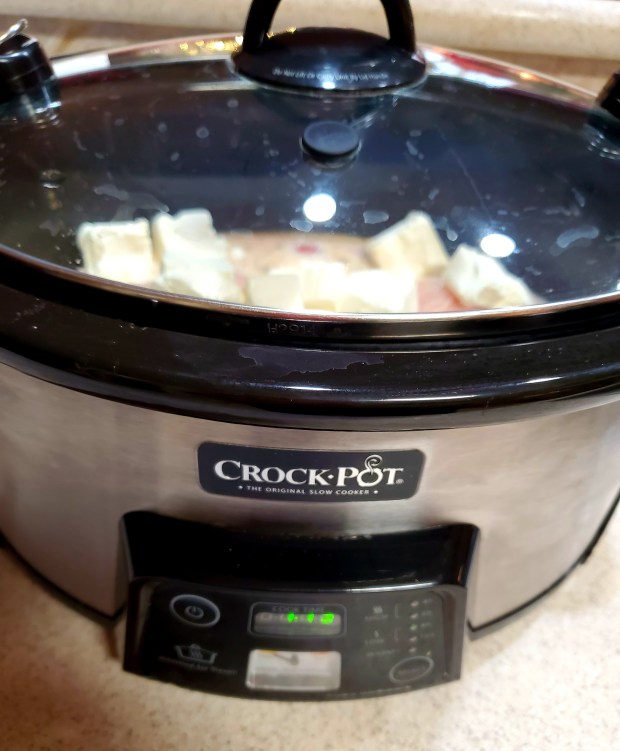
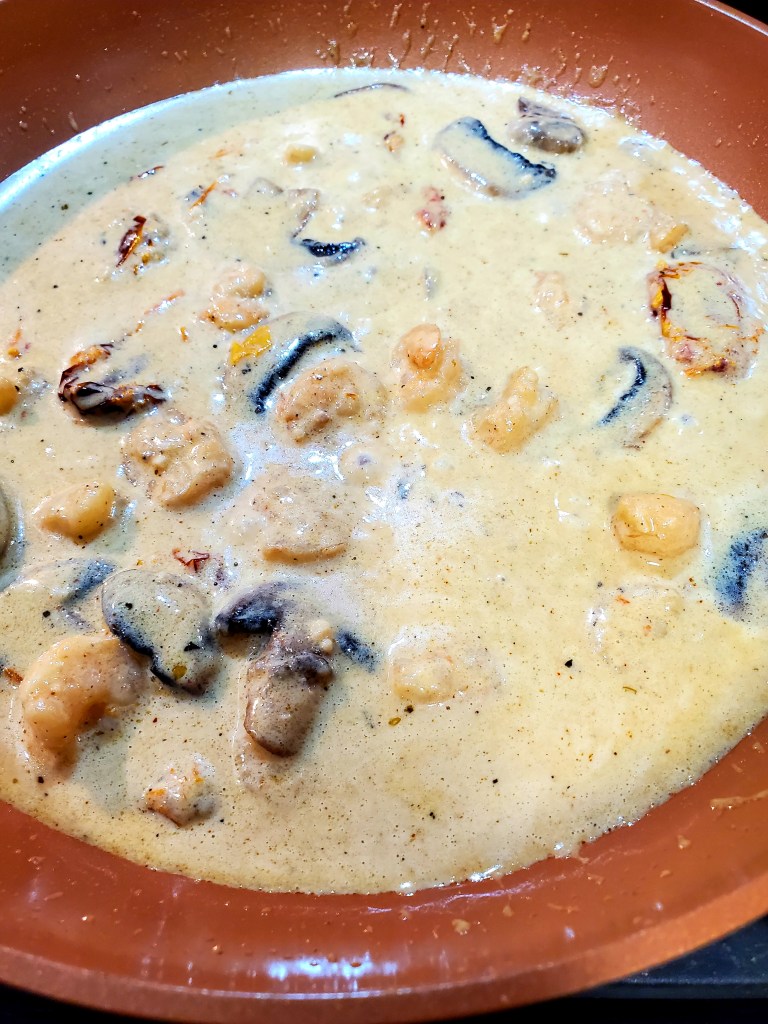
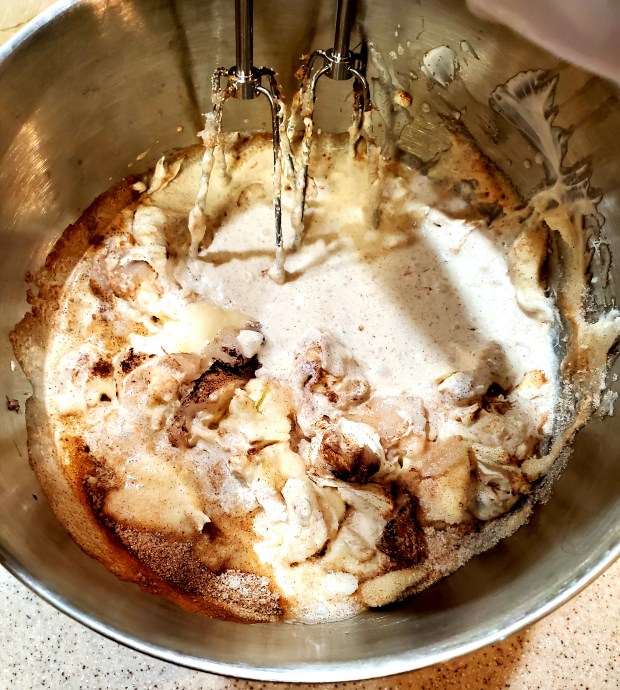
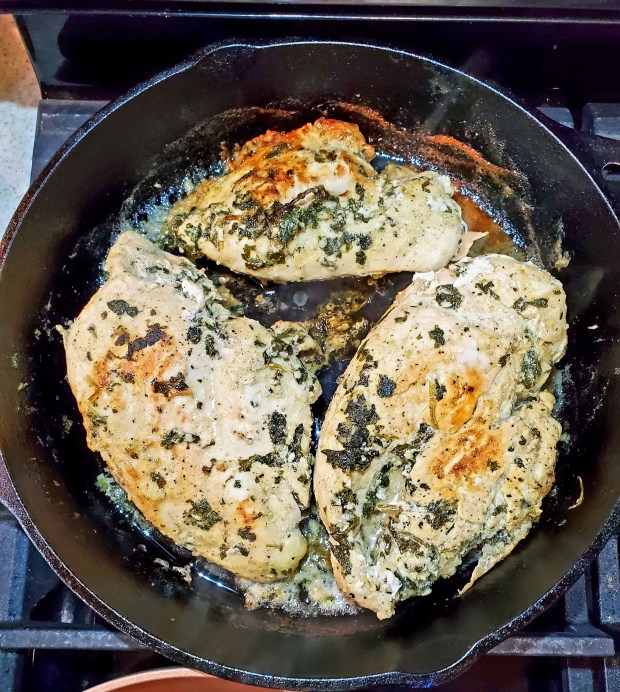
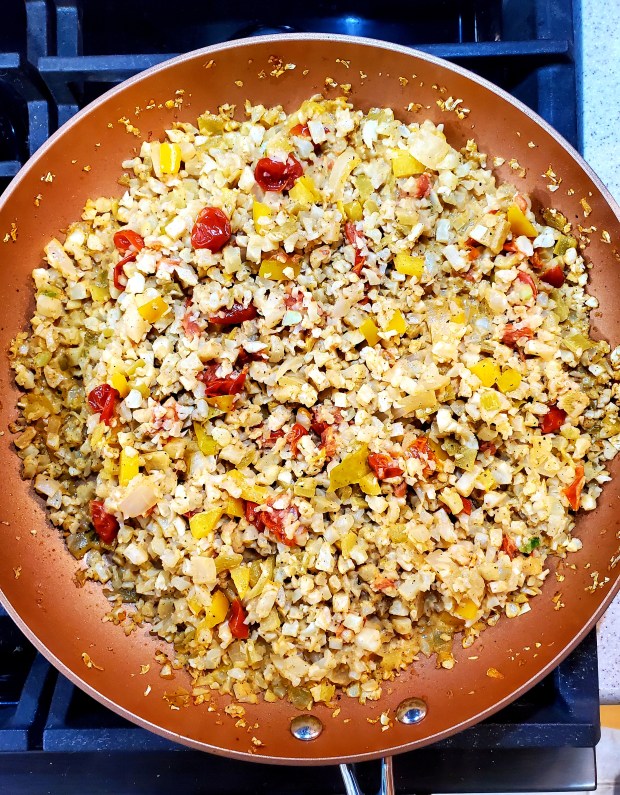
Cook on low for 8 hours or high for 4 hours. 30 to 45 minutes before serving, add your cauliflower pears. They don’t need long to cook. Once ready to serve, shred the chicken using a shredder or 2 forks. Don’t worry, it will fall apart!

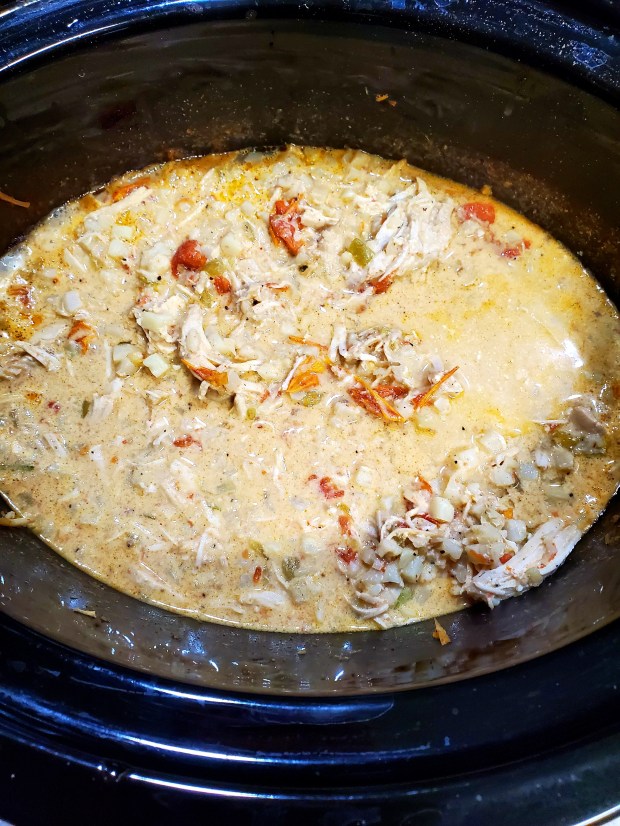
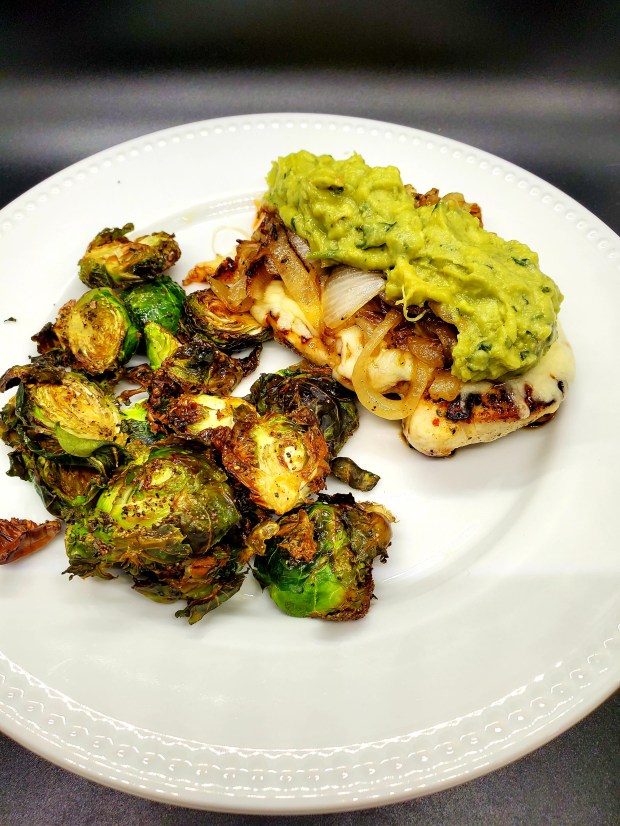
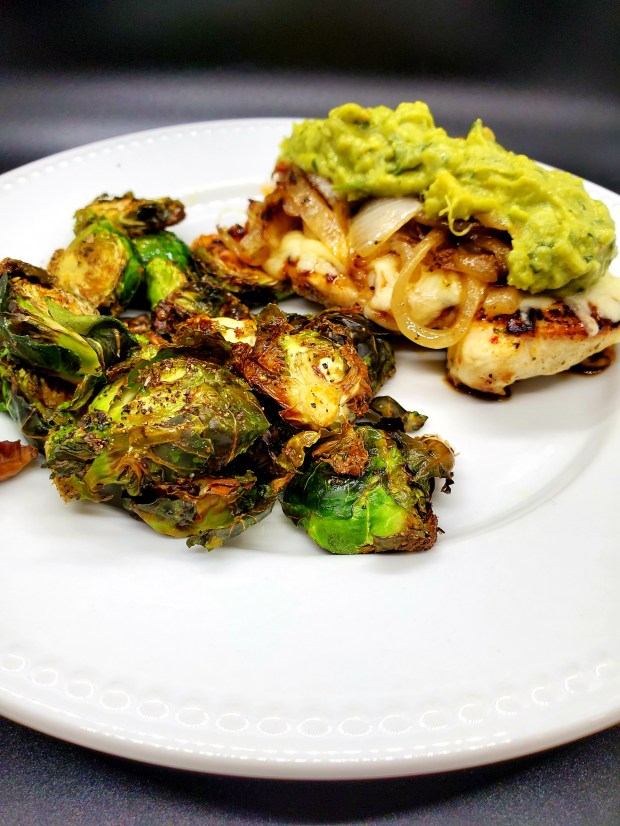
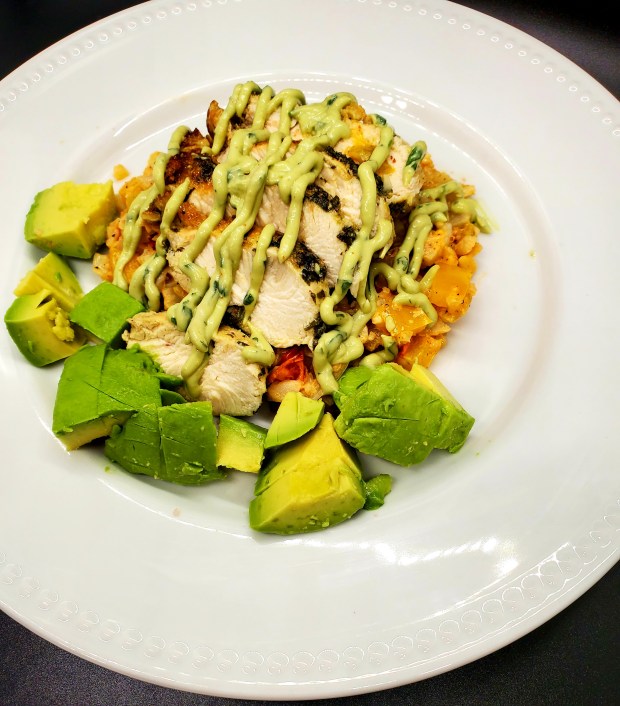
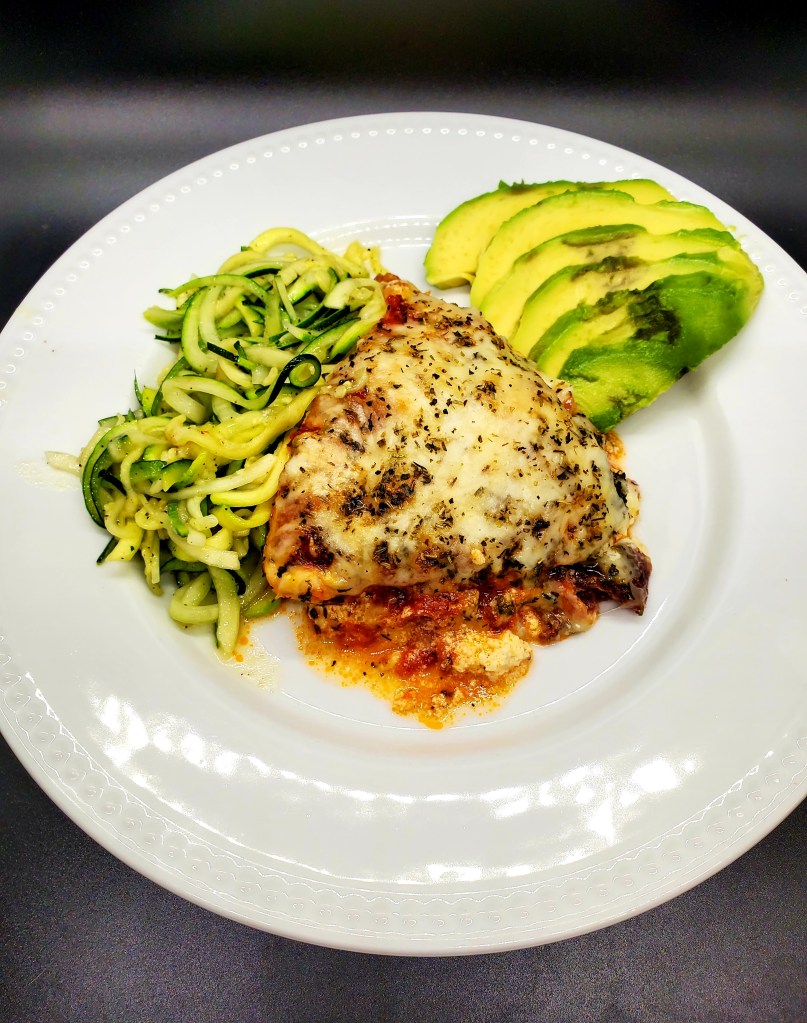
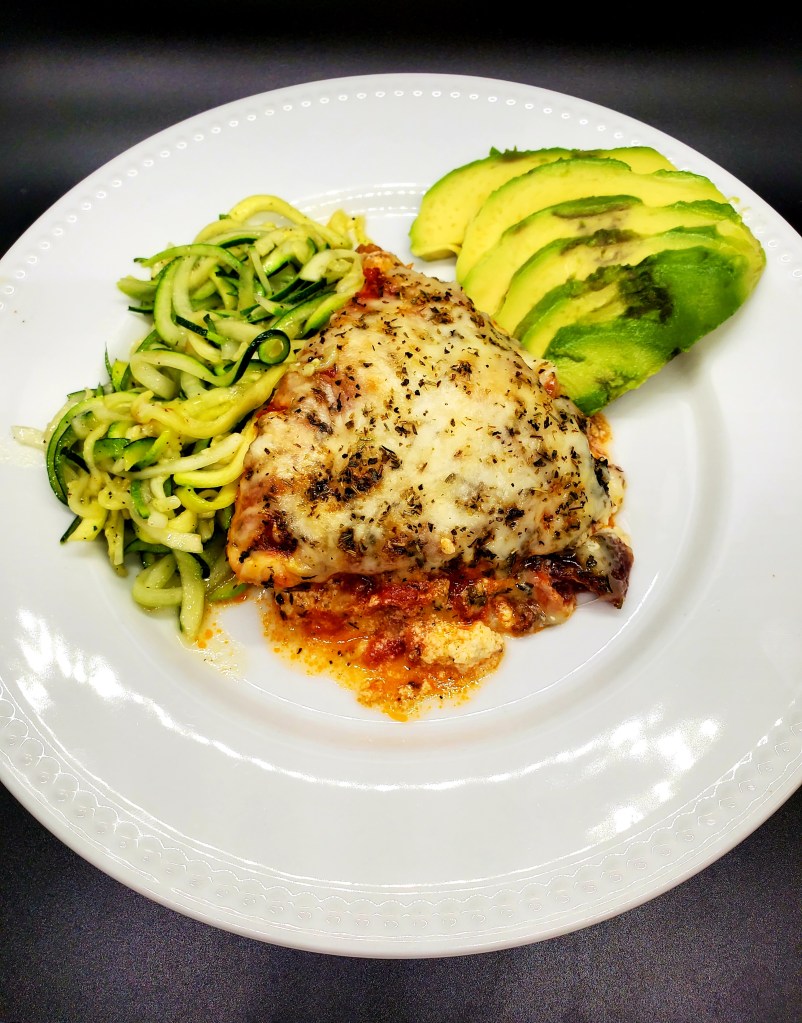
Ladle out into a bowl and enjoy. You can add sour cream, cheese, green sauce, whatever your heart desires!

Keto Cornbread

Want to confuse your family by making cornbread without corn? Well, this is the recipe for you. This Keto Cornbread is just what you are looking for. It pairs great with soups, salads, steaks…. anything you would want to eat cornbread with. Best of all, it’s keto and it taste exactly like traditional cornbread. If you love cornbread, you must make this, it’s out of sight!!

Ingredients:

  • 1.5 cups almond flour
  • 1/2 cup Keto approved sweetener (if you don’t want sweet cornbread, remove)
  • 1tsp baking powder
  • 4 large eggs
  • 4tbs salted grass fed butter, melted
  • Avocado oil spray for the pan

Instructions:

In a mixing bowl, add all of your wet ingredients. In a separate bowl, add all of your dry ingredients.

Slowly add your dry ingredients to your wet, mixing along the way.

Once all of your dry is mixed well with your wet, spread mixture onto a baking pan lined with parchment paper and sprayed with avocado oil. If you prefer, you can cook this in a cast iron pan as well. From our experience, the mixture will stick if you do not spray.

Place pan in your pre-heated oven and bake for 20 minutes at 350. Keep an eye on it as your oven may need to go longer, but not likely shorter. Remove, slice and enjoy!

Keto Laredo Chicken

A few days ago, my wife and I stayed at the Golden Nugget on a mini vacation. While there, we ate at the Salt Grass Steakhouse. I ordered the Laredo Chicken and was pleased with my meal. While it was good, it had so much more potential (seasoning). I decided that I wanted to recreate this dish when I got home. This was a knock out. What was missing from their dish was the seasonings on the meat. It’s so important to get that flavor on there! Don’t be shy.

This is a perfect meal when you’re in a crunch for time. This meal literally only took 20 minutes to prepare. It took longer to make carnalize the onions than anything else!

Ingredients:

  • 4 split breast chicken breasts
  • 1 yellow onion, sliced
  • 2tbs salted grass fed butter
  • 4tbs avocado oil
  • 2tbs of Worcestershire sauce
  • 1 cup Monterey Jack cheese (grated); 1/4 cup each breast
  • Guacamole
  • Salt/Pepper to taste
  • Your favorite chicken seasoning

Instructions:

If you have time, season your chicken ahead of time. If not, it isn’t a big deal. I can’t tell much of a difference when seasoning right before cooking or seasoning ahead of time. Be generous, don’t be shy.

In a large frying pan, put in 2tbs of butter and 2tbs of avocado oil. Get the pan hot and throw in your sliced onions to sweat down and caramelize. Add salt, pepper and Worcestershire sauce and sauté until they are soft and caramelized.

In a separate frying pan, add 2tbs of avocado oil and get the pan screaming hot. When the pan is hot, throw in your breast and sear each side for about 2 minutes. Pre-heat your oven to 400 while cooking your breast.

Once both sides are seared, turn off the heat. Add 1/4 cup of Monterey Jack cheese to the top of each breast. Place the pan in the oven and bake for about 8 minutes, or until the chicken has at least reached an internal temp of 165 degrees.

Plate your chicken, top with some of the onions, put a dab of Guacamole on top and add your favorite vegetable on the side. Enjoy. This was really good and really easy, I suggest you put this on your menu!

Keto Pumpkin Pie

There is not many times that a Keto alternative is just as good as the real deal. Well, I’m here to tell you that this Keto Pumpkin Pie was. It was very good and the Keto pie crust was so buttery and fantastic. Even better, it’s a fairly simple recipe. I hope you’re able to make it and share with your family over the holidays. Or, enjoy yourself!

Ingredients:

Crust

  • 2 1/2 cups almond flour
  • 1/3 cup Keto approved sweetener
  • 1/4 cup of melted butter or Ghee
  • 1 egg
  • 1tsp vanilla
  • 2tsp cinnamon (optional)
  • Pinch of pink salt

Filling

  • 1 can (15oz) pumpkin puree
  • 2 eggs
  • 1/2 cup heavy cream
  • 2/3 cup Keto approved powdered sweetener
  • 2tsp pumpkin pie spice
  • 2tsp vanilla
  • Pinch of salt

Instructions:

Crust

You can hand mix all these ingredients but it is way easier to use your food processor. Dump all of your crust ingredients into the processor. Put on the dough setting and combine all ingredients. I stopped it after 30 seconds and scraped the sides and ran it again for another 20-30 seconds.

Remove the dough from the processor and place on a sheet of parchment paper, making sure you form it into a ball. Because of the butter, it is quite greasy so beware. Place another sheet of parchment paper on top and roll out into pie crust shape. Don’t worry if it’s not perfect, you can help form it in the pie pan. Also note, it tries to crumble. Get creative placing in your pie pan. I turned my pie pan over the crust, placed my hand under and flipped. Form the edges as pretty as you can. You can press any of the excess back into the crust to fill gaps or cracks.

Cook in the oven at 350 degrees for 10-12 minutes, just until it starts to brown. Remove and let cool.

Filling

In a large mixing bowl, throw all of your filling ingredients in. With a hand mixer, mix on low until all of the ingredients are good and combined. Don’t overmix or you will create a bunch of air in the filling and it won’t cook right.

Now that the pie crust has cooled enough, about 15 minutes, dump you pie filling into your crust. Level with a spatula. Place in the oven at 325 degrees and cook for about 40 minutes, or until there is no more jiggle. Remove and let cool down before slicing.

Once cooled, slice and enjoy! Top with a dab of homemade whip!

Keto Pecan Pie

Just in time for Thanksgiving, we now have an option for a pecan pie that is 100% Keto friendly. Now this was just a trial run but it turned out pretty dang good. We are going to try a few other methods but there is absolutely nothing wrong with this version. Now with that being said, nothing can replace a real pecan pie, but this will get you pretty close!

Note: Pay attention to pecan placement. When putting the extra pecans on top, ensure the pretty side goes up. This was just a test run so I didn’t care.

Ingredients:

Crust:

  • 1 cup almond flour
  • 1 cup coconut flour
  • 2 eggs
  • 8tbs (1/2 cup) melted grass fed butter
  • pinch of salt
  • 2tsp cinnamon (optional)

Filling:

  • 2 cups Lakanto sugar free maple syrup
  • 4 eggs
  • 2tsp vanilla
  • 2 cups pecan halves
  • 8tbs (1/2 cup) melted grass fed butter

I did not put any Keto friendly sweetener in the filling. I think I would go back and put in 1/2 a cup of brown sugar Keto sweetener next go round. You can find it here –> https://amzn.to/2Kh34su

Instructions:

Crust

You will need a 9″ pie pan. In a mixing bowl, add your dry ingredients and mix well. Once well combined, add in your 1/2 cup of melted butter. Mix this really well. Then add in your 2 eggs, whipped. Mix well. I ended up just mixing with my hands to make it easy.

Once you have a dough like consistency, place the mixture into your 9″ pie pan. Here, you will need to work it around to shape the dish. This took the longest to get up and around the edge. Maybe it would have been best to place between 2 sheets of parchment paper and rolled it into the pie dough.

Once you have your pie shaped, place into your pre-heated oven at 375 degrees for about 10 minutes. Make sure you poke a few holes in the bottom so your crust doesn’t bubble.

Filling

While your crust is cookin, make your pie filling. You will add all of your ingredients to 1 mixing bowl except your pecans. Once it is all mixed and combined, add in your 2 cups of pecans. Mix well once again. Your mixture will seem too watery but don’t worry, it’s going to cook just fine.

Remove your crust from the oven. Reduce the oven temperature to 350 degrees. Dump your filling into your pie dish. Before placing in the oven, add some extra pecans to the top with the pretty side facing up! Place in oven and bake for ~35 minutes. You will know when it is finished cooking as the center won’t be jiggly anymore.

After your timer goes off, remove from oven and let cool. Slice and enjoy!

Blackened Red Snapper with Cajun Cream Sauce

On my recent business trip to Louisiana, I ordered a dish just like this. I knew right then I wanted to re-create this dish, Keto friendly of course. I think my version is a little different tasting but it was fantastic. There was so much flavor in this dish, my taste buds didn’t know what to do. Of course as always, add/remove ingredients as you see fit.

Ingredients:

  • 3 Red Snapper fillets, fresh not frozen
  • 2tbs grass fed butter (basting the fish)
  • 4tbs grass fed butter (sauce)
  • 3/4 cup heavy cream
  • 1 serving of sun dried tomato’s (about 6-9 pieces)
  • ~20 small shrimp
  • About 1 cup of white organic mushrooms
  • 2tsp minced garlic
  • Cajun seasoning to taste
  • Pinch of pink Himalayan salt
  • pepper to taste

Instructions:

I started preparing the fish first. Melt your 2tbs of butter. Coat each side of the fish with the butter and apply a heavy coat of cajun seasoning and set to the side.

Now lets get the sauce simmering. It takes it a bit to thicken so we will make it and then cook the fish. In a fairly large frying pan, add your 4tbs butter, 2tsp minced garlic and your sun dried tomato’s. Cook on high heat for about 30 seconds, being careful to not burn the garlic or the butter.

Now reduce the heat to medium and throw in your mushrooms and frozen shrimp. Hit it with a good dose of cajun seasoning, the pinch of salt and some pepper. Let this cook for a few minutes until the shrimp is just starting to cook.

At this point, let’s add in the heavy cream. Once added, whisk it real good to combine. Keep whisking ensuring all the butter and cream mix. Cook this on medium heat for several minutes but try not to let this come to a boil.

I let this simmer the entire time while cooking the fish, stirring frequently. Once it has thickened, reduce the heat to low or pull off the stove top. If needed, add 1/8tsp of Xanthan gum to help thicken. I had to add a bit to mine to get the consistency I wanted.

Now let’s blacken that Snapper. On a frying pan, or cast iron, heat the pan on high for several minutes. Add a little bit of avocado oil to the pan. You want the pan screaming hot to get that good blackened char. When your pan is ready, place your fish in and let it cook on each side for about 3 minutes. I had some leftover melted butter that I poured over the top. I suggest you do the same. Don’t worry, it’s supposed to be a little charred looking. When done cooking, remove from pan and place on a rack to rest for a few minutes.

Plate and enjoy. I placed my fish over a bed of fresh green beans. Then top it with your creamy cajun sauce! Hold on tight, there is a lot of flavor in here!

Pumpkin Spice No-Bake Cheesecake Fluff

Ok, so I was just playing with a recipe here and I think I made something pretty dang good. I wanted simple, no bake cheesecake, but really didn’t find a recipe I wanted to try. So, I just took the general ingredients, threw it all in a bowl, whipped it up, and made magic. This is extremely “Thanksgiving” and would probably be good any time of year. Also, this is crust-less. This helps reduce calories and net carbs. Hope you enjoy.

Ingredients:

  • 16oz. block cream cheese (2 blocks)
  • 1 1/2 cup heavy whipping cream
  • 1 cup granular Keto approved sweetener
  • 2tsp vanilla
  • 1/4tsp pink salt
  • 1 cup sour cream
  • 4tsp cinnamon (yes, I love cinnamon)
  • 4tsp pumpkin spice seasoning
  • 2tbs coconut oil (optional, but recommended, used to help stiffen)
  • 7oz (the whole bag) Lilly’s pumpkin spice white chocolate chips (I’ve only found at Walmart)

Instructions:

In a large mixing bowl, put all of the ingredients in at 1 time except the Lilly’s chips. With your hand mixer, start on low and get it mixing. Work your way up to the high setting and whip for about 5 minutes, continually scraping the sides as you go. I just whipped it until it was nice and firm.

Once you are done whipping, and it’s nice and firm, dump in the Lilly’s chips and fold in. You do not want to put these in while using the hand mixer, it beats them up pretty good.

Transfer to a large pie pan. There is no crust, so it will all fit, just spread it around nicely. Place in the fridge to firm up. Mine took about 2 hours to get good and firm. It won’t cut like pie, but don’t worry, it sure eats good! Enjoy.

Keto Avocado Crema

This is the sauce that does it all. We use it as a dressing on salads, topping on tacos and even drizzle it on our eggs. It’s perfect for basically any occasion. Tonight, I made a fresh batch and added to our fish tacos. It was dynamite!

Avocado Crema added to fish tacos

Ingredients:

  • I bundle cilantro finely chopped
  • 1/2 cup sour cream
  • 1/4 cup water
  • Salt/Pepper to taste
  • 3tsp Cayenne (optional)
  • 1 squeezed lime
  • 2 avocados
  • Condiment bottle – If you don’t have one, here is a suggestion from Amazon–> https://amzn.to/35yWPHc

Instructions:

Wash your cilantro and finely chop. This is important if you want to put in to a squeezable container. If you don’t chop it fine enough, it will clog the tip and frustrate the heck out of you.

Even this isn’t chopped fine enough, still clogged my tip

Get your food processor out. Throw in 2 peeled avocados, the cilantro, 1 fresh squeezed lime juice, water and all of your seasonings. Put on blend and let run for 20 to 30 seconds. Remove the lid and give it a scrape down the sides and hit it again for another 15 seconds. If you put some on a spoon and it doesn’t slide off, you can add a bit more water. This will help when using as a dressing. Transfer to a squeezable condiment container or bowl and refrigerate.

The bottle will last about 2 days in the fridge before it starts to brown. If you are proactive and shake daily, you might squeeze another day or 2 out of it. Enjoy!

Cilantro Lime Chicken and Cauli Rice

Who’s ready for Mediterranean night? I was going for more of a Mexican dish but I think it is actually more Mediterranean. Either way, this was fan-fricken-tastic. There were flavors hitting the taste buds all over, no joke. It seems like a lot of work, but trust me, it isn’t. Start marinading your chicken early, or at least 30 minutes before, and you’ll be in for a treat.

Ingredients:

Chicken:

  • 3 large chicken breast(beaten to 1/2″ evenly) or 8 boneless thighs
  • 1 bushel cilantro
  • 1tsp lime zest
  • 1/4 cup lime juice or squeeze 3 limes
  • 3tbsp olive oil
  • Salt/pepper (to taste always)
  • 1tsp cumin
  • 3 cloves garlic, chopped

Cauli Rice:

  • 1 bag (16oz) cauliflower pears
  • 6tbs heavy cream
  • 1/2 yellow bell pepper, diced
  • 1/2 sweet onion, diced
  • 1/2 cup cherry tomato, sliced in half
  • 1tsp cumin
  • 1tsp paprika
  • Salt/pepper to taste
  • 1 small can green chilies
  • 1tbs olive oil

Instructions:

If you have time, get your marinade for the chicken done early. In the blender/processor, add all of the marinade ingredients to the processor and blend until smooth.

Place your chicken into a gallon ziploc bag and dump your marinade in the bag. Rub the marinade in really good ensuring all of the chicken is coated. Place in fridge. If you do this early, pull out of fridge and massage the marinade in every couple of hours and flip the bag.

When it’s time to cook, heat up a cast iron pan or regular frying pan. Add some olive oil and cook on medium high until the temp is 165. Make sure you flip every so often.

In a separate pan, add some olive oil and sauté your onion, bell pepper and tomato. Once they have softened, add in your cauliflower pearls, green chilies, cumin, salt, pepper and paprika and cook on medium high for about 5 or 6 minutes. Once that starts to soften, add in your heavy cream. Reduce the heat and let simmer for 10-15 minutes.

Add your cauli rice to a plate and top with sliced chicken.

Keto Chicken Lasagna Version II

Alright, so I already have a version of this Keto Lasagna on the blog but I made some changes and I think it’s much better. This time, instead of stuffing the chicken, I used the chicken in layers. A, it held better and didn’t run all over. B, it just tasted better overall. If I had to choose, this one is hands down the winner. Oh yeah, I added bacon crumbles this time as well as basil, made a lot of difference too.

Ingredients:

  • 1 egg
  • 1.5 cups of mozzarella cheese, shredded; 3/4 cup for stuffing, 3/4 cup for topping
  • 1 cup ricotta cheese
  • 3 large chicken breast, split in half, hammered (tenderized)
  • 6tbs bacon crumbles
  • Rao’s marinara sauce or other Keto equivalent
  • Italian seasoning
  • Garlic powder
  • Basil
  • Salt and pepper to taste

Instructions

Stuffing:

In a mixing bowl, add your ricotta cheese, 3/4 cup of mozzarella, egg, Italian seasoning, salt, pepper, basil and garlic powder. Mix all ingredients until well mixed and set to the side. You choose how much to use of each seasoning. I used about a teaspoon or 2 of each and it was just right.

Prepare the chicken

If you can buy split breast chicken, skip this step. Otherwise, take your breast and split them. Cover with saran wrap and pound flat. After pounded flat, cut in half and lay in a 9×11 baking dish. Hit the breast with some salt, pepper, garlic powder, basil, and Italian seasoning.

Sauce each side of the chicken with Rao’s. Use what you feel comfortable using. Just know that the more you add the more watery your dish will end up being. After the marinara, put your spread on each half of chicken as in the picture below. Once you are finished with the spread, this is where I added the bacon crumbles. Place the other half of the chicken pieces to cover this.

Now add a bit more Rao’s sauce on top of each. Sprinkle on the other 3/4 cup of mozzarella. Once again, hit the top with salt, pepper, garlic powder, Italian seasoning and basil.

Place dish in your pre-heated oven at 400 degrees for 25-25 minutes. I’ve had this cook in 25 minutes and other times it took 40. When you get to 25 minutes, if it’s not done, cover with foil and cook until you hit an internal temp of 165 degrees.

Since we cut the breast in half, your full dish is already split into 6 equal servings! Use a spatula, plate and enjoy!